The finished journal measures 5 1/2" by 3 3/4". I start with a piece of 140# watercolor paper measuring 11" by 15". I generally use paper that has color already on it from a "failed" project and apply a thin layer of gesso over the existing color or design. I like to see the colors bleed through the gesso in spots to add dimension and interest to the finished product.
I began with TCW stencil called Fancy Feathers designed by Ronda Palazzari. I placed the stencil randomly on the paper, applied purple paint, moved the stencil and did it again. Each time I tried to use a different feather pattern.
After drying the feathers thoroughly I used my Fibo stencil from the Quasicrystals series with some dark yellow acrylic paint. I used the same technique of applying the pattern randomly across the paper.
When this was completely dry I began folding it into the book shape that I wanted. First I folded the paper horizontally, opened it up and folded it vertically.
Each time I made sure the fold was sharp by using my bone folder. I opened up the paper and made the last fold which helps to form the pockets later. I folded each of the ends of the paper to meet the center fold and the pressed the folds in.
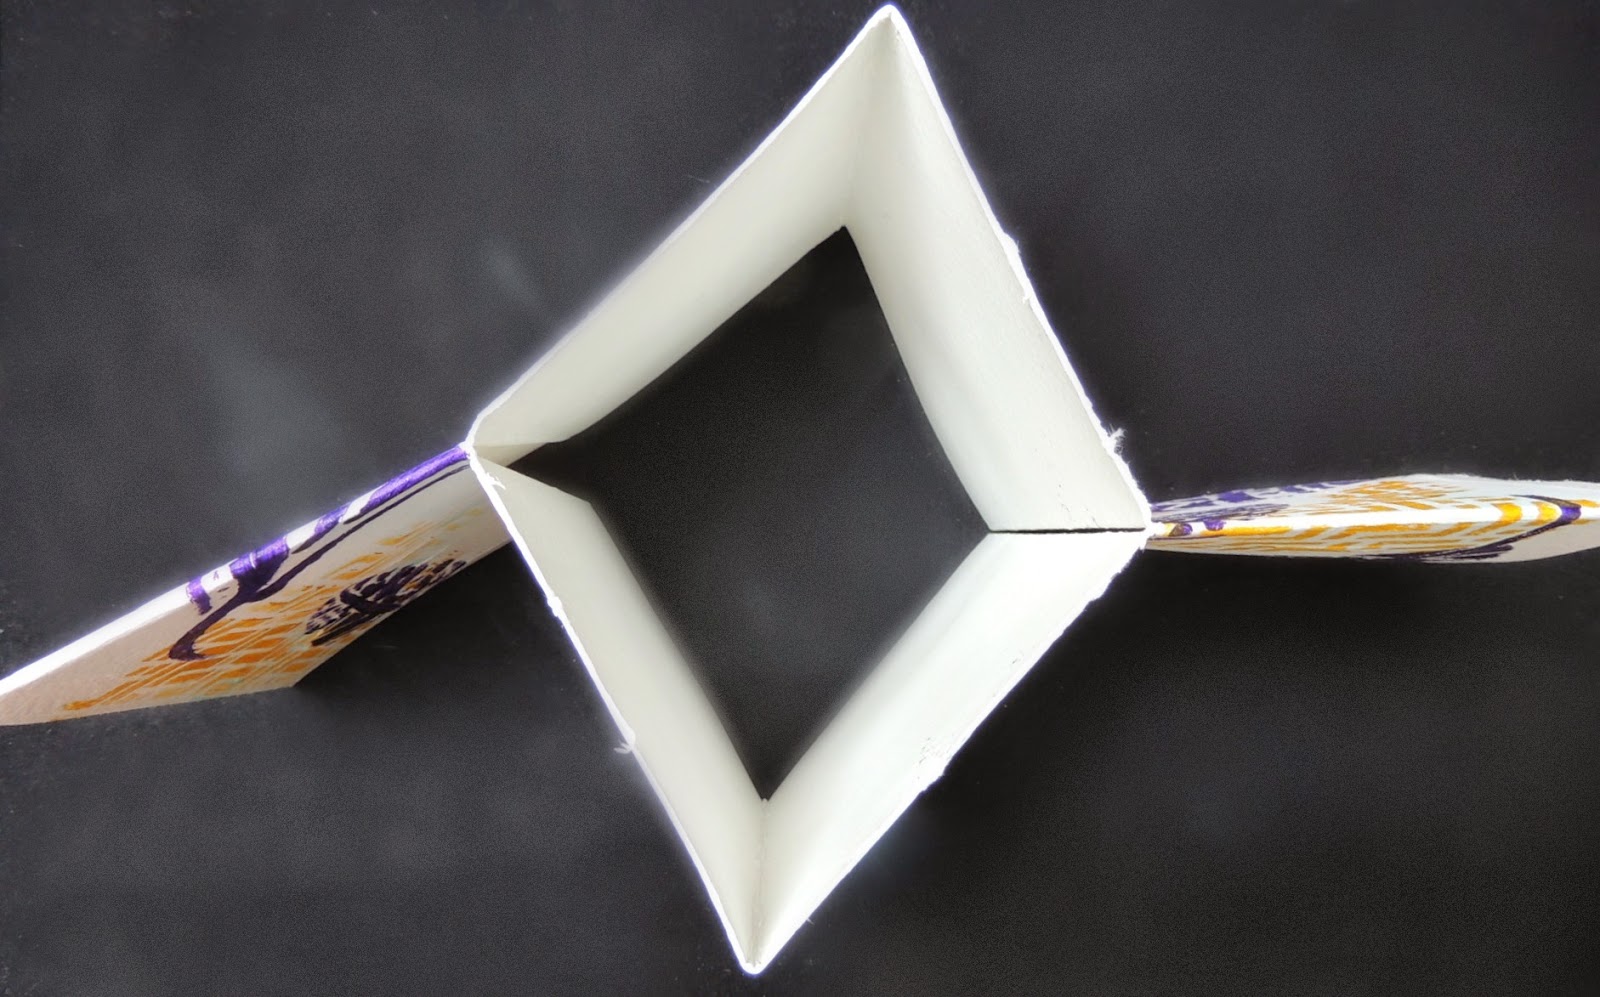
I opened up the paper and folded it wrong sides together horizontally. With the folding completed it is time to make the cut that allows the paper to fold right into the book shape. I cut this with an exacto knife on a self healing pad, then I pushed the two ends together and it makes a mini book with four storage area openings on the top. Now to close any areas that are still open on the bottom and the sides of the book.
I turn the book so the top is open on each page. That is where the tags and ephemera will slide easily into. The openings on the sides and the bottom are closed with washi tape and stitching with a sewing machine. You could close them with sticky back canvas or staples, hand sewing, whatever you choose. I also opened the book to the middle section and stitched right down the middle. At this point you can trim your threads or not depending on how "artsy" you want your book to look.
I continued to decorate my mini journal with Tim Holtz's rub-ons and stamps that reflect traveling.
 |
| Front and back covers |
 |
| Pages one and two |
 |
| Pages three and four |
 |
| Pages five and six |
A book like this is fun to make with different stencils and perhaps colors that represent the area that you're going to visit. Artistcellar offers so many fantastic design options with an array of stencils on their site, it makes being on their design team a real treat!
Thanks for stopping by today, I'd love to hear your thoughts so if you have time to leave a comment I'd appreciate it. Take care, Renee xxx


This is a super little travel booklet! What a fun idea to whip out this cute little thing and file away trip memorabilia. Thanks for the great stenciling tips.
ReplyDeleteGorgeous flower and what a killer background... love these bold colors!
ReplyDeletePurple and yellow. Outstanding. Love this, Renee.
ReplyDeleteAwesome pages...love the color and the background, and the cover is so striking! It's perfect to house those extra special things while traveling!
ReplyDeleteWhere most of my artful projects are made for challenges and Design Team obligations, I most enjoy making art for myself--a bit selfish perhaps, but, beyond even that, I love making art for myself that I can use in my home studio or while traveling. Your travel book today piques my interest, and I promise to make one! Love the expandable (elastic) closure with that flower. Russ and I do a lot of "day trips" from our campground, and this booklet will collect treasures. Thanks, Renee!
ReplyDeleteRenee, Super project and technique ! Love the mix of stencils and your colors- Yum everytime! And you made me laugh with your words about a "failed" piece! I've used quite a few of my own over lately! heehee xo
ReplyDelete