Showing posts with label hostess gift. Show all posts

Friday, February 10, 2017

Hearts of Gold Gift Bag


If you have a chance to pop over to the Imagine website you can take a look at a step by step tutorial (just scroll down on their site) showing how to create inexpensive gift wrapping that costs less than $1 and uses supplies from your art supply stash.  It only takes minutes to upgrade this bag and tissue paper.

Thanks for stopping by!  Hugs ~ Renee


Sunday, December 27, 2015

Make a practical little gift box

 Well, my 2015 term as a DT member with IMAGINE Crafts/Tsukineko is nearing its end.  It has been a fun year creating projects for them 3 times a month but there's a new team in place for 2016 and it's time for me to move on.  I will always love their products, I do believe they are exceptional and I will continue to use them.  This project is a gift box and is great for holding completed Zentangle tiles or even coasters.  Here is how I made it.


Supply list
IC/T supplies
Delicata 4 ink pad
irRESISTible Pico Embellishers:  Bronze, Copper
Memento Markers:  Pistachio, Pear Tart, Bamboo Leaves, Love Letter
StazOn:  Jet Black ink pad
Miscellaneous supplies
Old book paper, Stabilo All pencil, Golden Self Leveling Gel Medium, watercolor paper, Idea-o-logy metal feet and pull knob, card board cardstock, Chalkboard Paint, The Groove Tool with sandpaper tip, adhesive

DIRECTIONS:
1.       Choose a card board box, new or recycled and paint it inside and out with black Chalkboard paint.  Use the Groove Tool with the sandpaper tip to rough up the edges and apply a small amount of red marker to distressed edges.  When dry attach metal feet to the bottom of box with a strong adhesive and begin working on the lid.


2.        Cut a piece of background paper, this one is from a previous master board.  Cut a flower basket out of old book paper and adhere it to the background panel.


3.        Stamp flowers and cut them out using old book paper.  Glue the flowers to the panel, color in the flowers and leaves with Memento Markers.  Use a stencil and some gesso to make a tablecloth at the bottom of the basket.  Allow to dry.


4.        Use the irRESISTible Pico Embellishers to outline the flowers.  Screw the handle onto the middle of the arrangement.  Add metallic colors from the Delicata 4 ink pad.


5.        Adhere panel to a piece of card board cardstock, glue with a strong adhesive to the box.


6.        Apply dots with Copper irRESISTible Pico Embellisher; when dry apply a coat of Golden Self Leveling Gel to seal.  This can be filled with coasters, photos, candy, etc.  Whatever fits.


Thanks for stopping by!  Leave a comment if you have a moment, I love reading what you think.  Take care, hugs ~ Renee

Wednesday, July 15, 2015

Stampotique Designer Challenge ~ Twinchies! ::SDC 204


Today on the Stampotique Designer Challenge our host, Janet, is challenging us to make some Twinchies!   Janet says : "Create a set of twinchies using your favorite Stampotique stamps."

Twinchies are small works of art that measure 2" by 2".  You can cut your own out of whatever paper you choose.   I just happened to have some wonderful pre-cut 2" matboard squares.  I was gifted these ART SQUARES from inchie arts lic and I must admit the quality of these squares is amazing!


I stamped parts of two different stamps, one on each twinchie.  The head comes from "Skiddy" and the skirt and feet came from Kate Crane's "Sing me a song".  I pulled a small gift bag out of my stash, I'll glue the twinchies to it later.


Time to color in the twinchies using Memento Markers in different colors.


Next I used some puffy, double sided adhesive tape to adhere the twinchies to the gift bag.  Then I filled the bag with the gift and added some turquoise tissue paper to top it off.


I invite you to participate in the Stampotique challenge this week.  Don't forget there are prizes to be won!  Take care, talk to you soon!  Hugs ~ Renee

Monday, April 22, 2013

Ten Minute Cards with a "Spring" theme

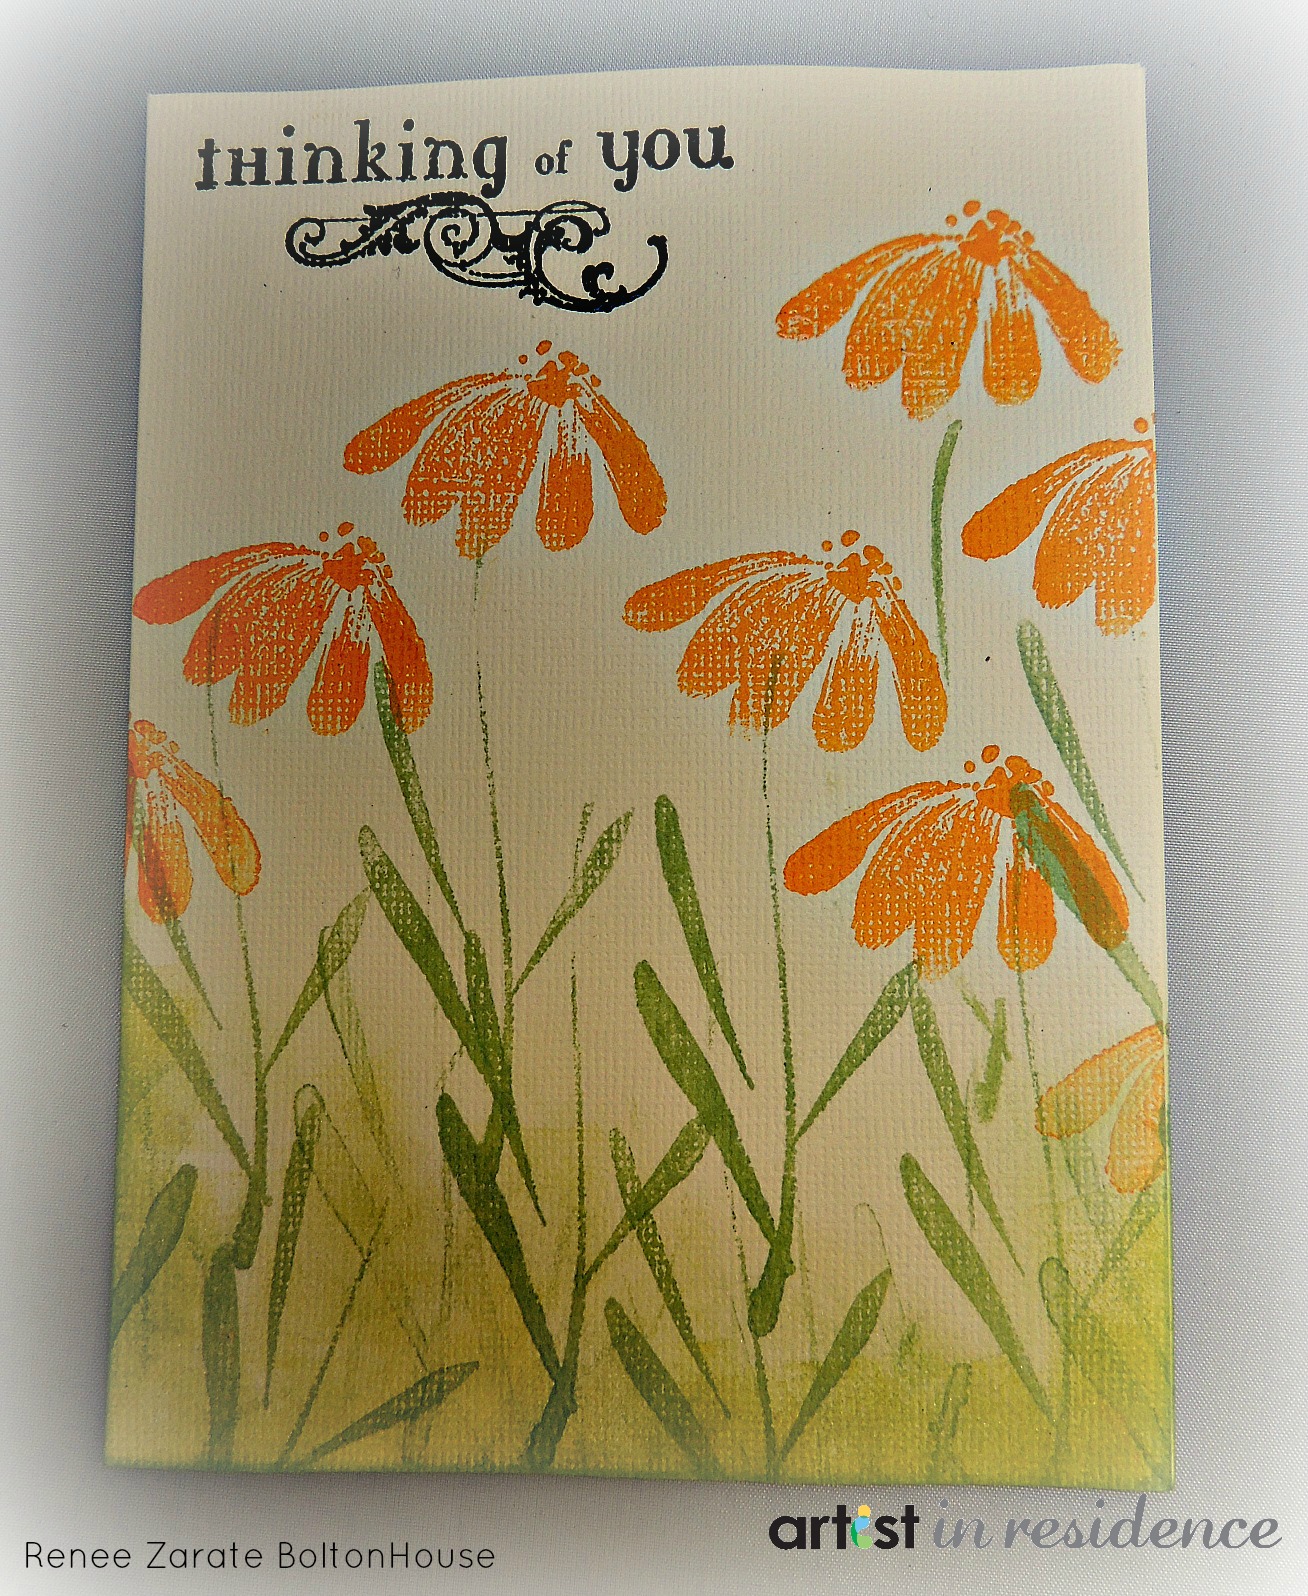
All of us are so pressed for time it seems.  I like to try to create some kind of art everyday and the ten minute card seems to be my answer to that challenge.  John at Tsukineko/Imagine Crafts sent me a box of Tsukineko's Versa Magic chalk inks and all kinds of wonderful sprays to use on my AIRs (Artists in Residence) projects for the month of April.  These chalk inks have a lovely, soft matte look when they dry.  You can heat emboss them with a clear powder if you want a shiny look to them.  I chose to keep the matte look except for one flower on each card.  The phrases at the top are inked with black StazOn ink and heat embossed with the clear powder. 
You could do several cards at one time, one right after the other, just keep inking up your stamp after each stamping.
First I stamped the Penny Black stamp with VersaMagic Aloe Vera green ink, using just the stems of the flowers and masking off the rest.  After heat drying the green ink I stamped the flower portion of the stamp.  I used Spring Pansy ink for this one.


I added a self adhesive dragonfly from K & Co for a little added interest and sponged the bottom portion of the card with some additional Aloe Vera ink.  Next I used Versa Magic chalk ink in the Aquatic Splash, which is a beautiful shade of blue.


On this one I stamped the phrase "Just a Note" and decided I liked it so much I would do one more with this phrase.  Here it is stamped  in Pink Petunia.


I did one more in a delicious Mango Madness color, which is either a bright yellow or a light orange color.  Very rich.


It is always great to have some all occasion type cards on hand and these really fit the bill.  They would also make a lovely hostess gift, packaged together and tied up with a nice piece of ribbon.

Products Used
Cream Colored Card stock/Blank Cards
Tsukineko Versa Magic Chalk Inks in Aquatic Splash, Pink Petunia, Mango Madness  & Spring Pansy colors
StazOn Black Ink
Clear Embossing Powder
Self Adhesive Dragonfly by K & Co

Tools
Heat Gun
Stamps by Penny Black, Hampton Art & Rubber Stampede

Thanks so much for stopping by to visit my blog, I really appreciate it!  If you have time please leave a comment.  Take care and have a great day!