Showing posts with label mini book. Show all posts

Wednesday, November 19, 2014

Keeping a visual record of your stencils with a sample book


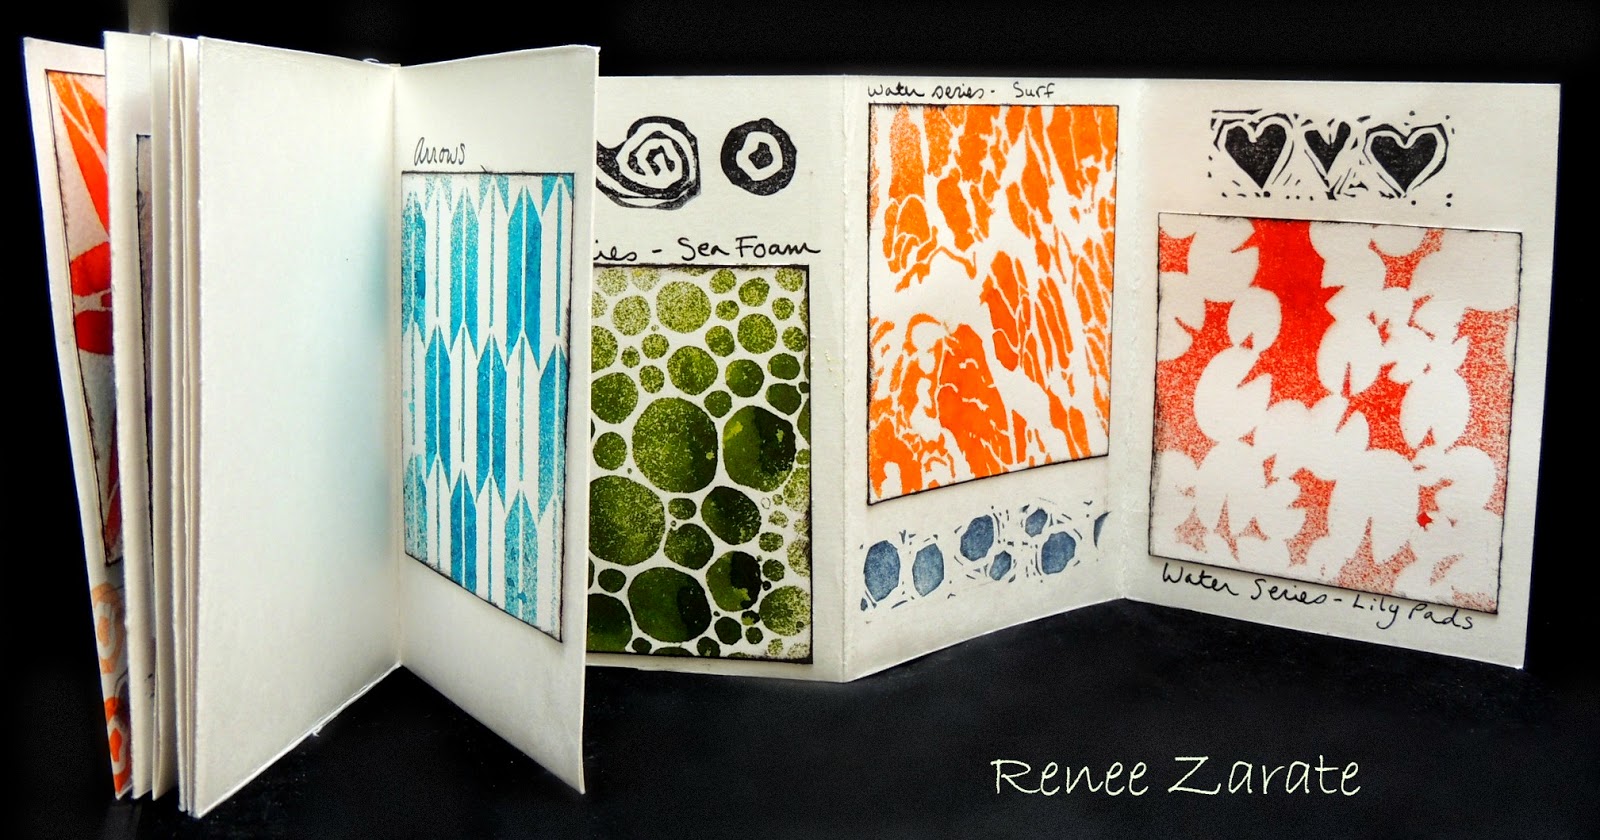
I made a mini book not long ago to remind me of what types of stencils I had and what they looked like when sprayed with ink.  Every month I receive new stencils from Artistcellar and need to keep track of what I have so I don't have to experiment too much when creating projects.  I just received a series of stencils called the WATER series so I've added their images to the book using the 4" by 4" art cards.  Here is what the book looks like.


Progressively adding more Art Cards with stencil designs


Blank book before adding Art Cards


First I placed the art cards in with the Kaleidoscope stencils designs on them.


Now I have added the Water Series of patterns to the back empty pages.


I was surprised when I sprayed each of these with ink by the patterns that came out!  The first one called Ripples almost looks like a wood grain stencil.  When there are samples like this it can really help the artist to see the possibilities quickly.

Thanks for stopping by today, I hope this has given you some stenciling ideas.  I will keep you posted each time I add art cards to my mini book.  I look forward to seeing you next week on my usual stencil day, Tuesday.  Take care, hugs~Renee xx

Tuesday, October 28, 2014

Artistcellar New Release! Kaleidoscope Stencils


Most of us feel a sense of delight when we hear the word Kaleidoscope.  If you're like me it takes you back to childhood with those tacky little paper/plastic kaleidoscopes that you could purchase at the 5 & Dime store.  The newest release from Artistcellar is called Kaleidoscope and is a series designed by mixed media artist Cecilia Swatton.  There are four stencils in the series:  Trillium, Sunflower, Black Orchid and Lily.


                product image       product image    product image     product image


 I am constantly challenged when it comes to keeping track of all my stencils so I make small books with either the stencils in the book (stashed in clever pockets) or at least samples of what they look like.  I chose to do a "sample" book project so I can have a quick visual of these tiny gems for future projects.

Samples from Kaleidoscope Stencils

Here is my process if you'd like to see it.  First I start by cutting up my Art Cards from a large piece of water color paper.  Each one measures 4" by 4".


After I have these cut I decided just to spray Dylusions Spray inks using a different stencil and colors for each card.


These could be highly decorated, just like an ATC, but I decided to keep them simple.  I only inked the edges with coordinating colors and glued them into my prepared, simply folded book.


I had intended to leave the book simply white to mimic a wall in an art gallery but then I couldn't resist adding a few stamped images from Dina Wakley's newest collection.

To finish off my practical sample book I added the names of the stencils just written with a Fude Ball pen on or around the stenciled images.  My folded book has room for many more Art Cards with stencil samples on them.  I'll keep sharing it with you as I go along filling it up.  When it is full then I will do the front and back covers.


Thanks so much for stopping by today.  There are some pretty amazing projects on the Artistcellar blog this week showing additional ways to use these stencils.  Oh!  And there is a blog hop taking place in which you can win your own set of these fun stencils.  I've posted the blog hop list for you here in the event you want to give it a try.  Here is the message from Lisa at Artistcellar:
Now the good part… join us this coming week for a blog hop with some awesome artists! Everyone will be featuring Kaleidoscope and every stop will be giving away a FREE set of stencils to a lucky winner. Read each blog for the details, for this one, just leave a comment – you can tell me what they remind you of, how you would use them, what is your favorite technique you would use with them. I will close comments Nov. 1st here. Each stop will be announced on our FB page the next 7 days.
October 25th – Lisa Cousineau, Artistcellar www.artistcellar.com/wp  <Kickoff!
October 26th – Effy Wild – http://effywild.com/
October 27th – Lisa Chin – http://somethingcleveraboutnothing.blogspot.com/
October 28th – Cheryl Sleboda – http://www.blog.muppin.com
October 29th – Paula Phillips – http://www.journalartista.com/
October 30th – Cindy Powell – http://cynthiapowell.blogspot.com/
October 31st – Cecilia Swatton – http://ceciliaswatton.blogspot.com

Until next week, take care.  Big hugs ~ Renee

Tuesday, May 6, 2014

Mini Travel Journal using Artistcellar Stencils

Happy Tuesday!  Tuesday is the day when I do a short tutorial showing how I use Artistcellar stencils to make projects.  I am pretty hung up on the Quasicrystals Series of stencils.  I think their shapes lend themselves to all types of projects that need something to pull the page together and these stencils seem to do just that.  Summer is quickly coming and so many people love to travel during that time, myself included.  I like to have one place to store ephemera such as tickets, receipts, etc. during my travels.  I also like to make lists of places that I visit each day so this small journal is the perfect storage place.  It is small but expandable depending on the type of closure you put on it.  This is the finished project which will be followed by a short tutorial in case you want to make your own.


The finished journal measures 5 1/2" by 3 3/4".  I start with a piece of 140# watercolor paper measuring 11" by 15".  I generally use paper that has color already on it from a "failed" project and apply a thin layer of gesso over the existing color or design.  I like to see the colors bleed through the gesso in spots to add dimension and interest to the finished product.


I began with TCW stencil called Fancy Feathers designed by Ronda Palazzari.  I placed the stencil randomly on the paper, applied purple paint, moved the stencil and did it again.  Each time I tried to use a different feather pattern.


After drying the feathers thoroughly I used my Fibo stencil from the Quasicrystals series with some dark yellow acrylic paint.  I used the same technique of applying the pattern randomly across the paper.


When this was completely dry I began folding it into the book shape that I wanted.  First I folded the paper horizontally, opened it up and folded it vertically.


Each time I made sure the fold was sharp by using my bone folder.  I opened up the paper and made the last fold which helps to form the pockets later.  I folded each of the ends of the paper to meet the center fold and the pressed the folds in.


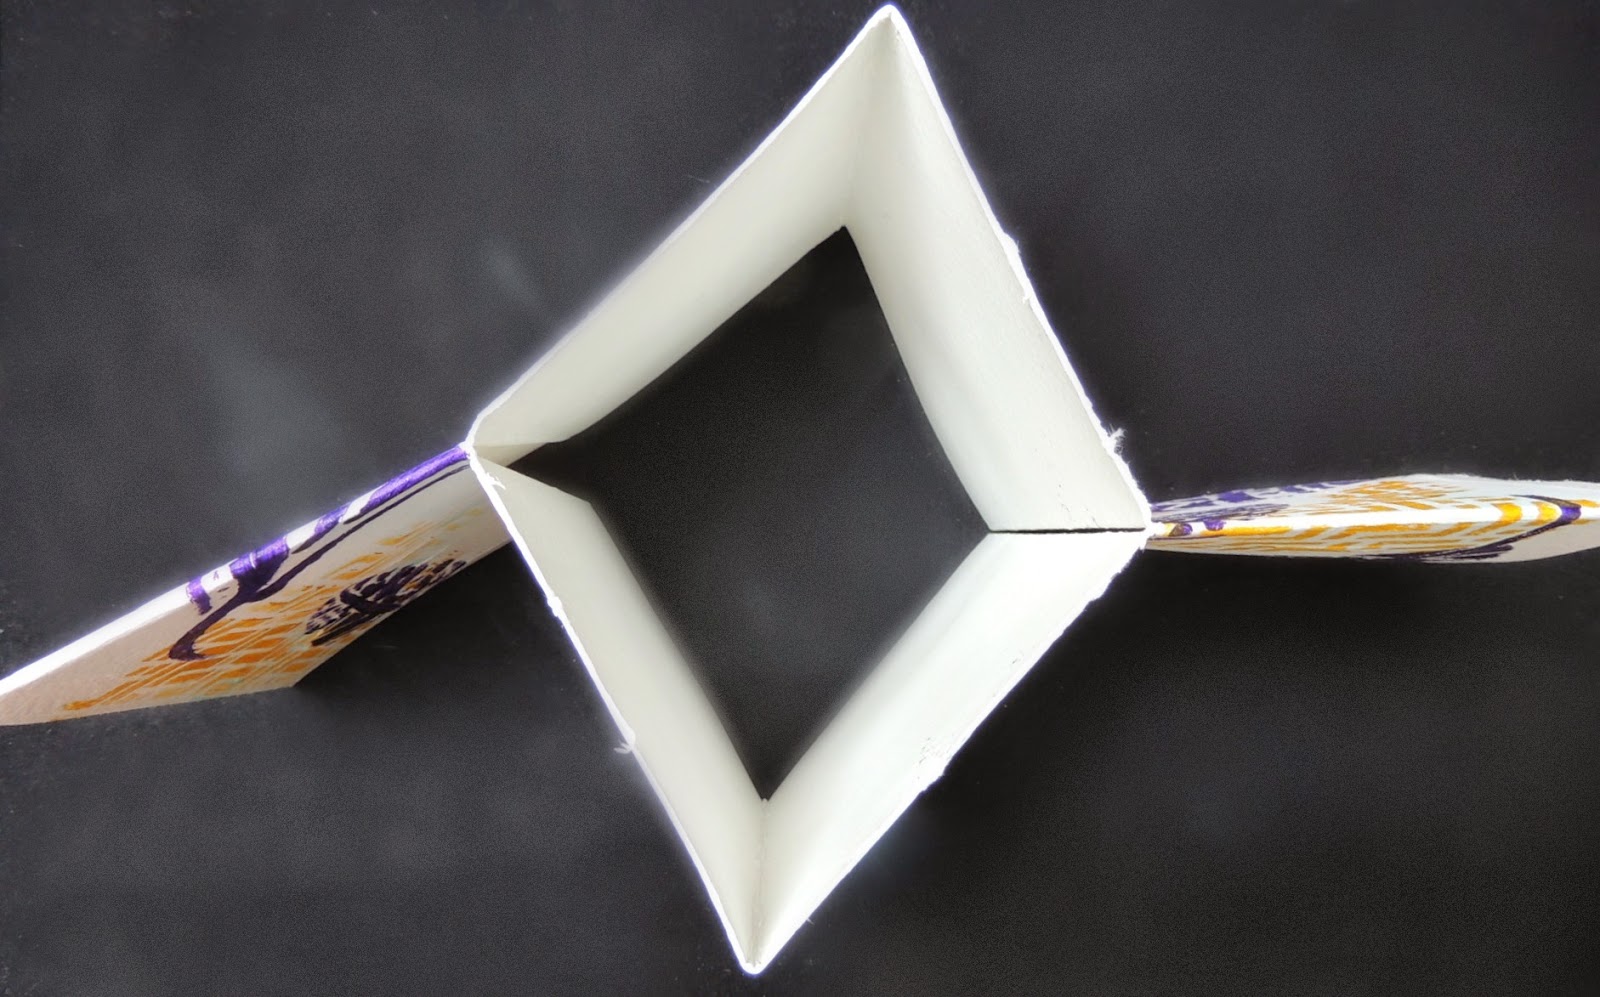
I opened up the paper and folded it wrong sides together horizontally. With the folding completed it is time to make the cut that allows the paper to fold right into the book shape.  I cut this with an exacto knife on a self healing pad, then I pushed the two ends together and it makes a  mini book with four storage area openings on the top.  Now to close any areas that are still open on the bottom and the sides of the book.


I turn the book so the top is open on each page.  That is where the tags and ephemera will slide easily into.  The openings on the sides and the bottom are closed with washi tape and stitching with a sewing machine.  You could close them with sticky back canvas or staples, hand sewing, whatever you choose.  I also opened the book to the middle section and stitched right down the middle.  At this point you can trim your threads or not depending on how "artsy" you want your book to look.


I continued to decorate my mini journal with Tim Holtz's rub-ons and stamps that reflect traveling.

Front and back covers

Pages one and two

Pages three and four

Pages five and six

I wanted the journal to be flexible so I put a closure on it that is elastic.  It is part of Tim Holtz's ribbon collection.  I cut the amount needed to keep the book closed and added a matching paper flower with a strong adhesive.


A book like this is fun to make with different stencils and perhaps colors that represent the area that you're going to visit.   Artistcellar offers so many fantastic design options with an array of stencils on their site, it makes being on their design team a real treat!

Thanks for stopping by today, I'd love to hear your thoughts so if you have time to leave a comment I'd appreciate it.  Take care,   Renee xxx
Monday, January 16, 2012

SDC46: Pocket or Purse Calendar-Stampotique Stamps ONLY!

Closed

Opened


Well, for me this was a challenge!  I wanted to make a really tiny calendar using only Stampotique stamps so I decided to use dominoes.  I have gotten a lot of inspiration from Laura Carson's site http://artfullymusing.blogspot.com/.  She makes BEAUTIFUL books, mine is just kinda cute.  So, after looking through my stash I found some old dominoes that I have been saving for a special occasion.  I made the little book covers out of two antique dominoes that I bought at the Brimfield Fair a long time ago (they each measured 1 7/8" by 7/8" and are 1/4" thick).  A couple of years ago I took a class with Tim Holtz using alcohol inks on dominoes and decided to try that technique.  So, I distressed them with Adirondack's Alcohol inks.  Using StazOn black ink, I stamped the Stampotique image called "Row Faces" using just two of the faces on each domino.  Then I wrapped the edges of the dominoes with a gold metallic tape, making sure to burnish the tape with a bone folder.  I covered the stamped images on the dominoes with Ranger's Glossy Accents and allowed it to dry overnight.  I used the Glossy Accents again to glue on the 4 beads that serve as "feet" that allow the calendar to be freestanding.  The dominoes are each attached to a corrugated piece of cardboard which is lined with ribbon and a patterned paper backing.  The black ribbon is cut to tie on each side.  I cut up the tiny calendar and glued it to a strip of black card stock which was folded accordion style and glued to the inside.  Ribbons tie on either side to keep it closed and little paper flowers by Prima were colored also with Alcohol Inks to match the dominoes and glued to the top with glue dots.  The pearl headed stick pins were also colored by the Alcohol Inks to match and tucked in behind the tiny flowers.  The finished product measures 2 1/4 " wide x 1 1/4" high.  Now that is a TINY calendar!