Showing posts with label small canvases. Show all posts

Monday, July 16, 2018

Mixed Media play on canvases

I've been making small canvases (4" by 4") using mixed media techniques.  Here are my five pink ladies.


I used products made by a few of my favorite artists:  Lynne Moncrieff, Seth Apter and Kristin Peterson.  A tiny splash of Finnabair's Glass Glitter, paints by Jane Davenport and additional inks by Tim Holtz.  It doesn't get any more fun than playing with all of this from my stash.  Oh, I brought out my embroidery threads and needles, back in the 1970's I used to do all sorts of needlework.  It's like riding a bike you never forget how to do it even after a few decades.  I need to do more of that!

Thanks for stopping by ~ hugs ~ Renee

Friday, December 22, 2017

Make your own Tea Journal using small canvases


I love tea, tea parties, tea shops, formal teas, homey teas...you get the picture.  My daughter and I have had tea in different shops and hotels all over the world during her life, we started when she was around 4 or 5 years old.  My personal favorite was about a decade ago at the Peninsula Hotel in Hong Kong, it was so beautiful!

This tiny book is made from two small canvases stamped and colored using Imagine products; the canvases serve as the front and back covers.  The inside has an accordion style section that can be used as the journaling pages.  It is fun to glue empty packets of my favorite teas inside or tea packets from tea with friends that I want to remember.  You can check out the details on the Imagine blog to get ideas to make your own tea journal.  If you have any suggestions or questions please leave me a message here.

Thanks for stopping by ~ hugs ~ Renee

P.S.  The "tea/glove" book used as a prop in the background was gifted to me by my friend Ella Wilson, it appeared in one of Stampington's publications and she was kind enough to send it to me.  I really cherish that lovely journal!  Ella is such an amazing artist.

Friday, January 15, 2016

CHA Anaheim new releases from Art-C

Hi there!  I'm sharing a couple of small canvases made with the new releases of acrylic paints and stencils from Art-C.  Here's another shot of the box of goodness they mailed to me to try out.


Here are two cute little canvases I created using the acrylic paints and stencils from the box.


I layered the Walnut Brown Luxe color onto the canvases first using the lattice stencil.  The Metallic Gold paint can be applied straight from the tube to the canvas or through a stencil such as the Bee or Butterfly stencils.  I wrote the words with the tube of Ultra Chalk black matte paint.  The edges can be painted on with the Gold Metallic paint or make a raised design directly from the tube.

The products are very fun and versatile!  Thanks for stopping by and allowing me to share these tiny creations.  Take care ~ hugs, Renee

Check out https://www.facebook.com/myartc/

Tuesday, November 4, 2014

Creating Art Card Backgrounds with Kaleidoscope Stencils

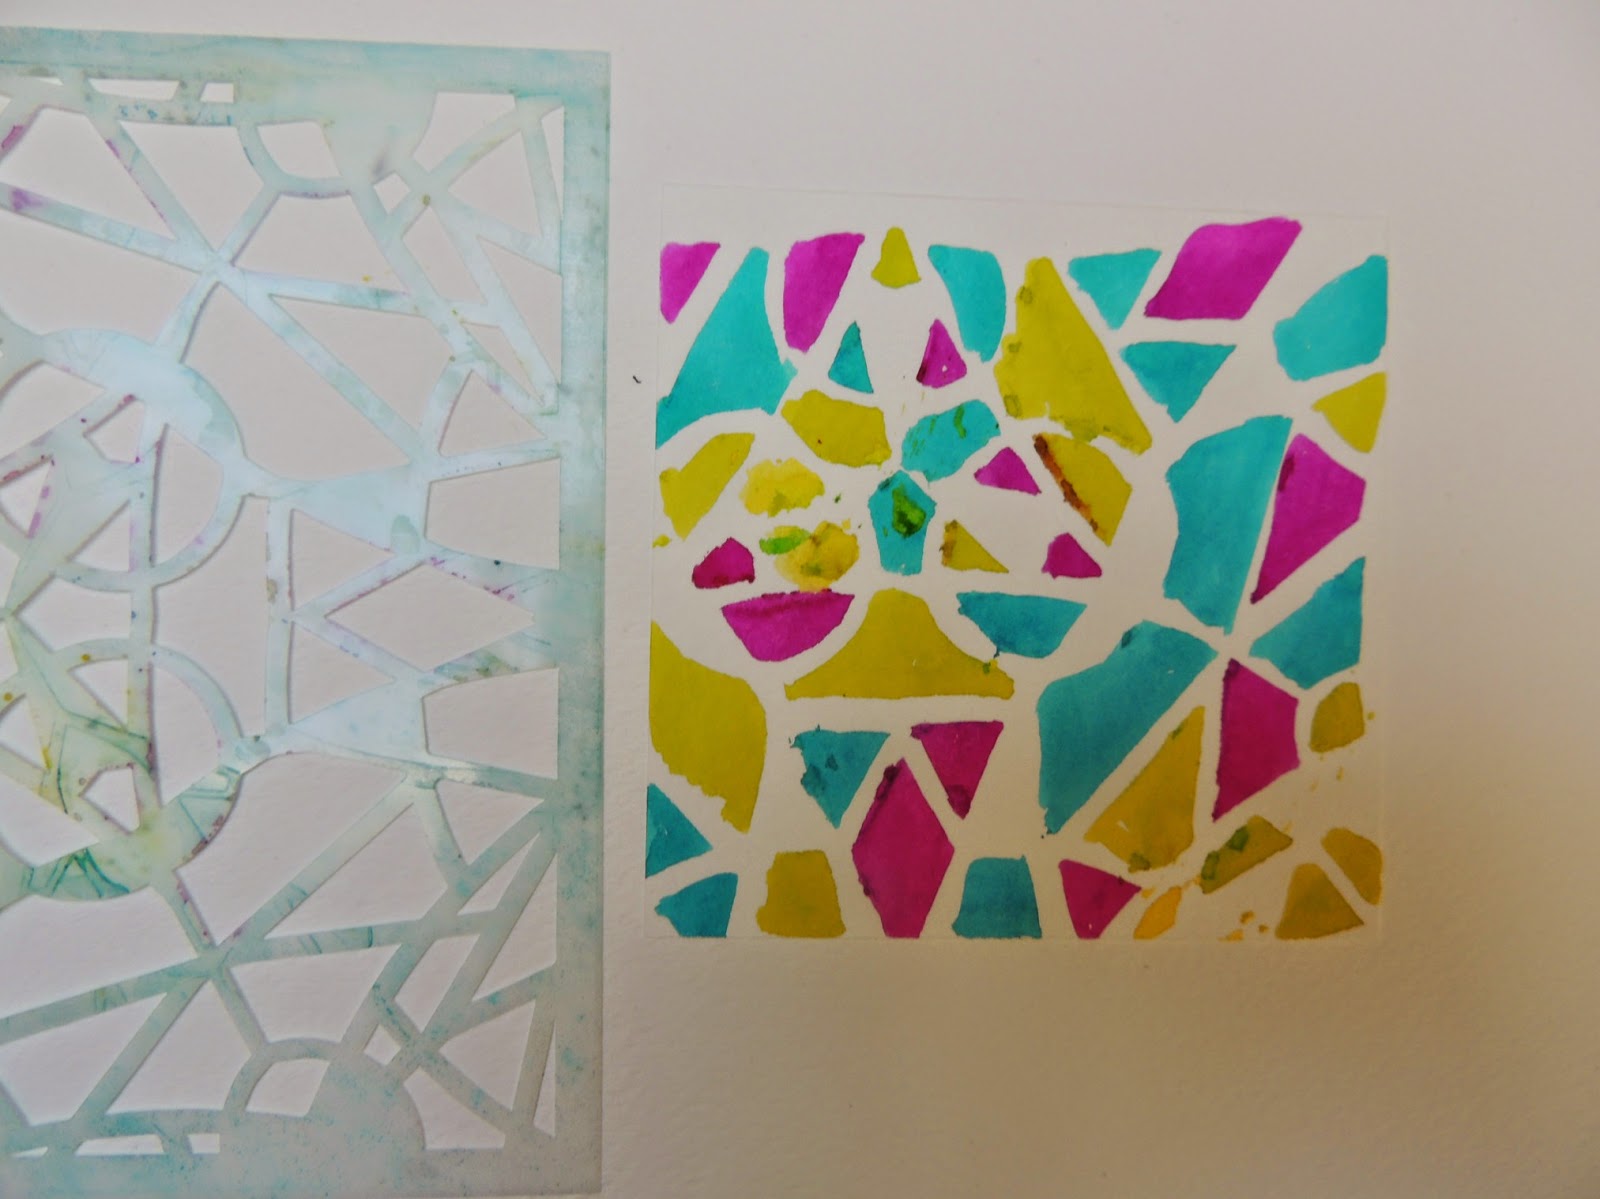
Hello there, happy Tuesday!  I am still pretty excited about finding uses for my new Kaleidoscope Stencils by Artistcellar.  Today I am using just one of the set to create backgrounds for my Art Cards.  I chose the stencil called Trillium to make these cute little Art Cards which can be used on cards, canvases or left just as it is as an Art Card.  This is what I made.


This project began as an Art Card.  Art Cards are small canvases, in this case a piece of 140# water color paper, cut to measure 4" by 4".  You can think of it as a slightly larger version of an ATC.  I began by using the Trillium stencil and some water color pens filled with Dylusions Spray Inks.


I placed the stencil on top of the pre-cut paper and painted the different colors of ink through the stencil randomly.  When I had a lot of color on the paper I lifted the stencil off and set it aside.  These are not permanent inks so the stencil can be washed off at any time.


Next I sprayed water onto the inked paper and let it run together.  When I was satisfied with the look I blotted off the excess water with a paper towel.


I sprayed it with water again and blotted the paper with a towel again to get a lighter look.


At this point you can stamp lines or any other pattern on top of the Art Card.  I decided to layer on a stamped image.  This stamp is an old one by Lockhart Stamp Co. with Mr. Kitty on it.


I stamped the image with StazOn Jet Black ink on a separate piece of card stock, trimmed it out and colored it in with Dylusions and Memento ink pens.  When this was dry, I matted it on card board paper, then glued the entire panel to the back ground colored Art Card.


I didn't want Mr. Kitty to be lonely so I made another one called Puppy Face to keep him company.


These can be kept in an Art Card book, glued to a small canvas, glued to the front of a card....pretty much anything you can think of to display them.  They're sweet and guaranteed to put a smile on your face!  Thanks so much for stopping by today.  I'll be back next Tuesday with more stenciling ideas.  Hugs~Renee