Showing posts with label Art Cards. Show all posts

Sunday, April 5, 2015

Masterboard Card using Faux Gelli Plate Technique


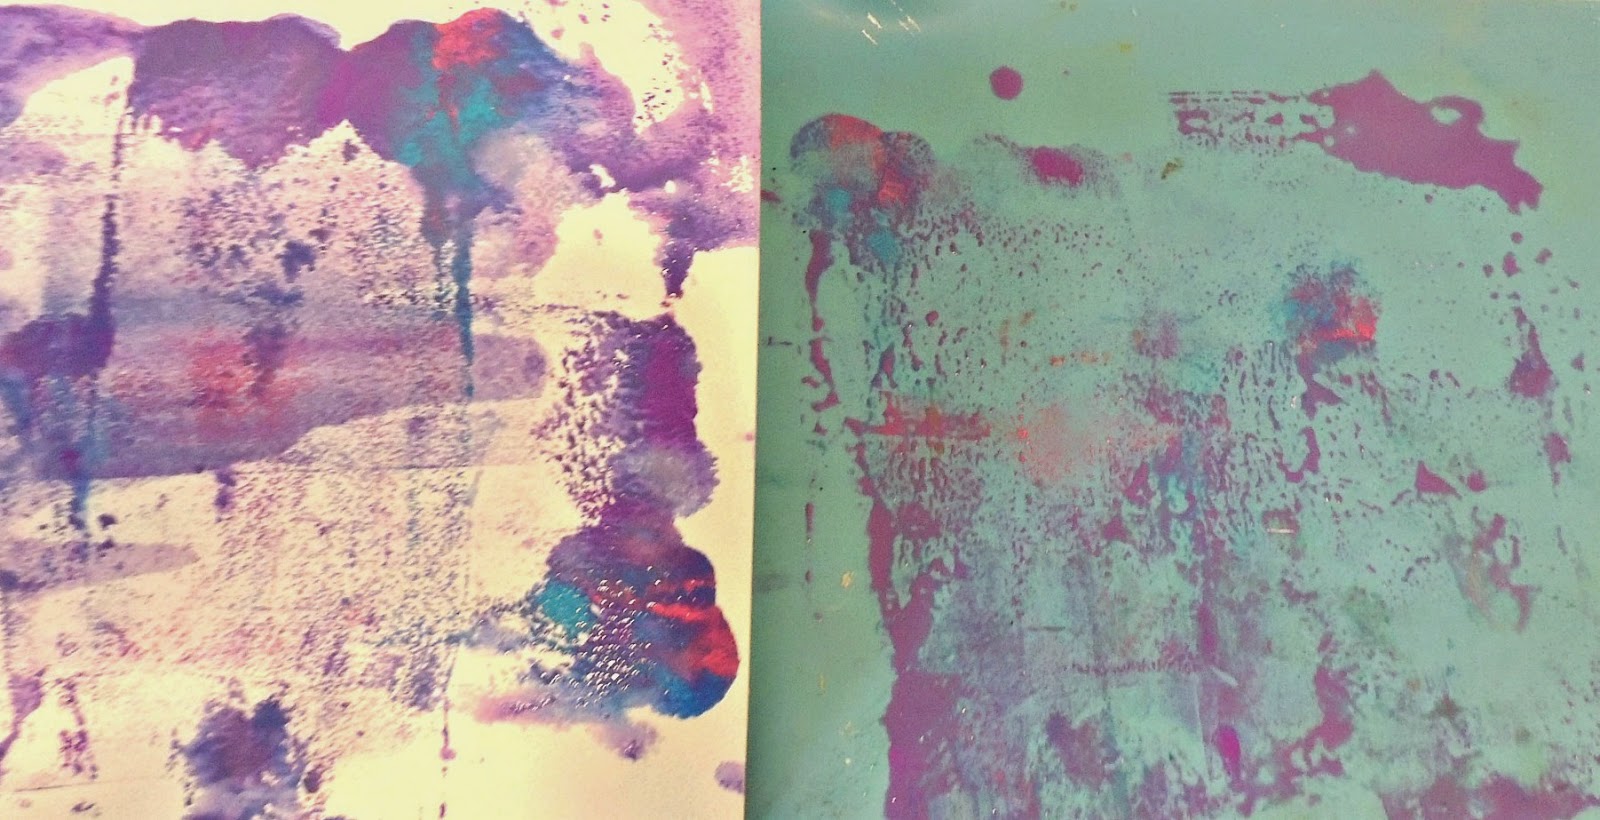
Last week when I made my "faux" gelli plate masterboard I was able to get 6 cuts out of one sheet of watercolor paper.  This is great when you want to make a set of cards that really look like a "set".  I started my faux technique using my craft mat instead of my gelli plate, which is great if you don't want to buy one more piece of equipment or just want to see if you even like gelli plate art.

1.  Drop 3 different colors of reinkers onto the craft mat and spray with water.

2.  Take a brayer and blend the colors together.  Next lay a sheet of watercolor paper on top of the ink and smooth the paper with your hands, this will spread the ink and pick it up at the same time.  Dry.


3.  Wipe off your mat with a baby wipe and add a contrasting color.  Make sure your paper is completely dry so the colors do not become muddy.  This time I dropped yellow and green reinkers randomly on the craft mat, sprayed water, spread the colors with a brayer and used the same piece of paper to pick up the color.  Dry.

4.  When the ink is dry, use a stencil and some gesso to pull the colors together and give the eye a place to rest.  Add more interest with a bottle cap dipped in blue ink and then flick black reinker droplets across the entire piece.  When the gesso is dry cut the paper into 6" by 4" piece panels.  These will be the backgrounds for your cards.


5.  Use stamps to decorate the panels.  For this one I stamped on a small piece of Vertigo and then enhanced the butterfly with StazOn Studio Glaze.  Using "3 in 1" adhesive the butterfly was attached to the panel easily.  Now just decorate and glue the finished panels to blank cards.  Here is one of the cards I created from this.  I'll share others at a later date.  I've included a supply list of products used here.


Supplies
IMAGINE Crafts featuring Tsukineko:  Radiant Neon reinkers:  Electric Blue, E. Purple, E. Green, E. Yellow, E. Pink;  StazOn:  Jet Black reinker, Midnight Blue ink pad;  StazOn Studio Glaze:  Gold, Claret;
Vertigo panel: Breeze, Craft Mat
Stamps:  Butterfly:  Stampendous;  phrase:  DeNami Designs
Stencils:  Artistcellar:  Chunky Chevron, Sea Foam
Miscellaneous:  watercolor paper, bottle cap, heat gun, paper cutter, adhesive, brayer

Thanks for stopping by today, know that I always appreciate your visits and comments.  Hugs~ Renee

Tuesday, November 4, 2014

Creating Art Card Backgrounds with Kaleidoscope Stencils

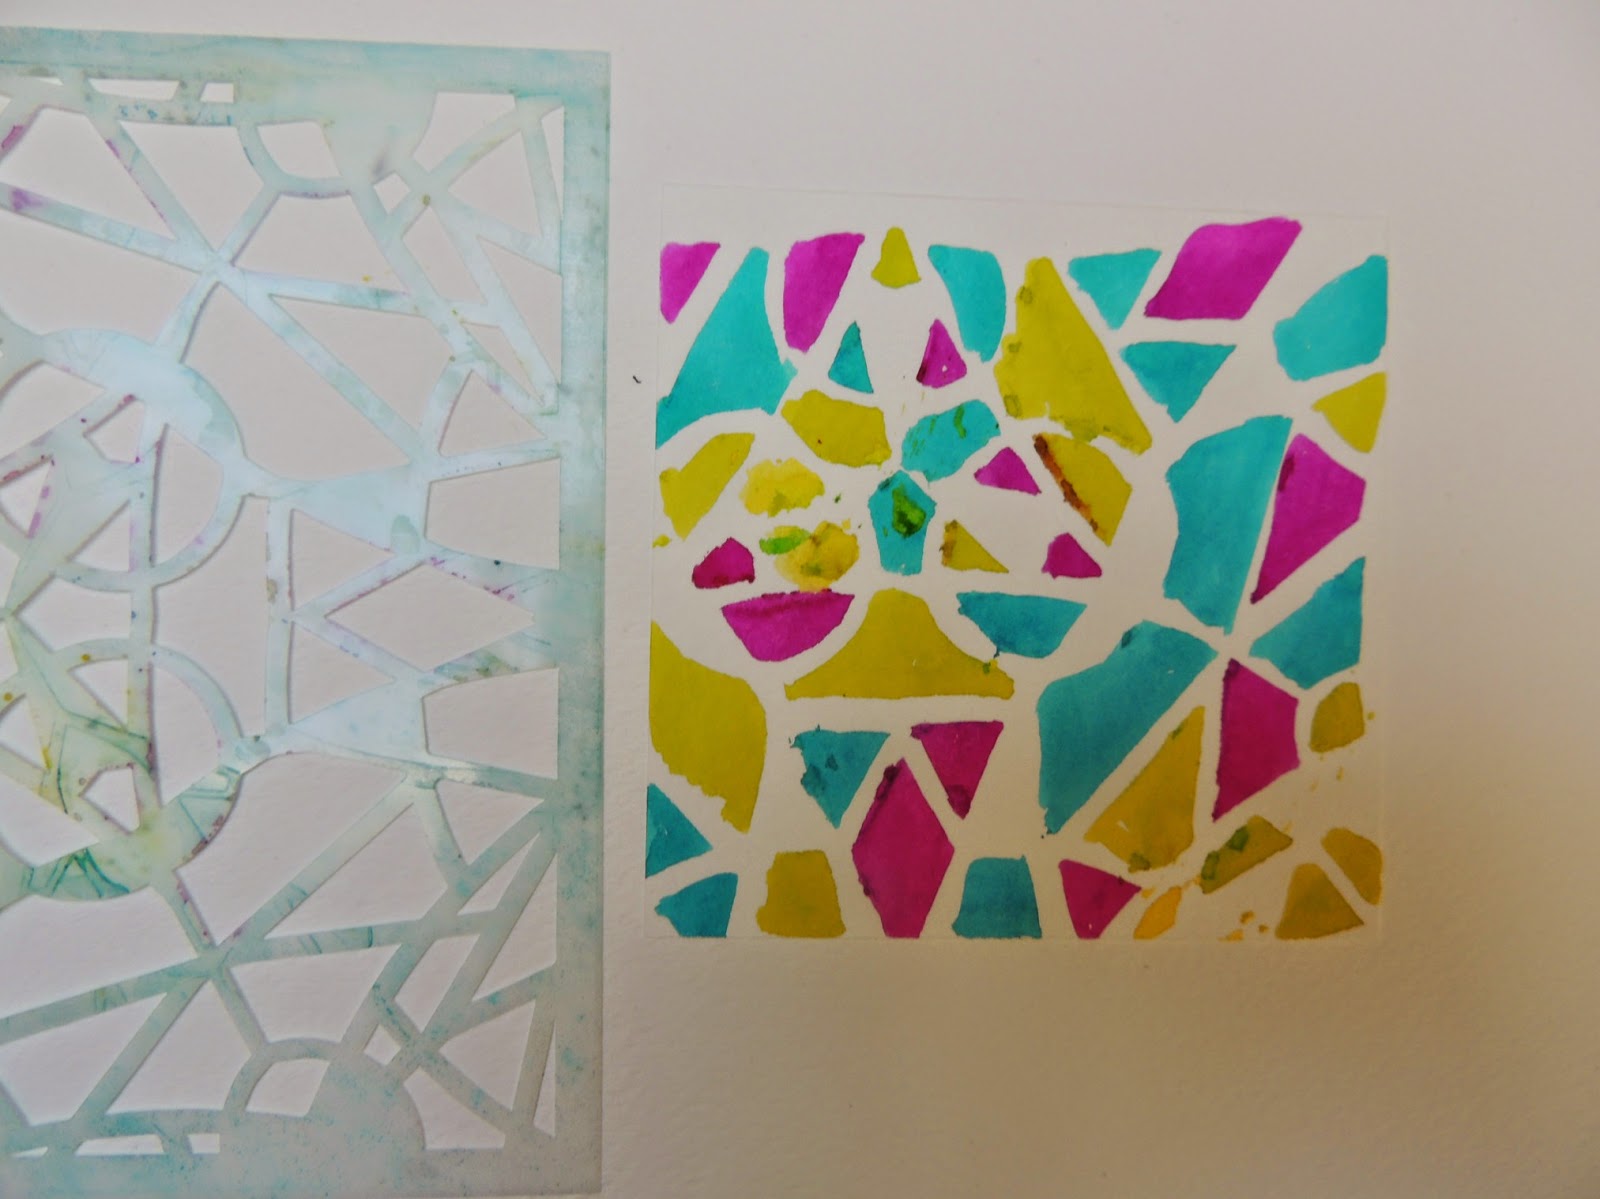
Hello there, happy Tuesday!  I am still pretty excited about finding uses for my new Kaleidoscope Stencils by Artistcellar.  Today I am using just one of the set to create backgrounds for my Art Cards.  I chose the stencil called Trillium to make these cute little Art Cards which can be used on cards, canvases or left just as it is as an Art Card.  This is what I made.


This project began as an Art Card.  Art Cards are small canvases, in this case a piece of 140# water color paper, cut to measure 4" by 4".  You can think of it as a slightly larger version of an ATC.  I began by using the Trillium stencil and some water color pens filled with Dylusions Spray Inks.


I placed the stencil on top of the pre-cut paper and painted the different colors of ink through the stencil randomly.  When I had a lot of color on the paper I lifted the stencil off and set it aside.  These are not permanent inks so the stencil can be washed off at any time.


Next I sprayed water onto the inked paper and let it run together.  When I was satisfied with the look I blotted off the excess water with a paper towel.


I sprayed it with water again and blotted the paper with a towel again to get a lighter look.


At this point you can stamp lines or any other pattern on top of the Art Card.  I decided to layer on a stamped image.  This stamp is an old one by Lockhart Stamp Co. with Mr. Kitty on it.


I stamped the image with StazOn Jet Black ink on a separate piece of card stock, trimmed it out and colored it in with Dylusions and Memento ink pens.  When this was dry, I matted it on card board paper, then glued the entire panel to the back ground colored Art Card.


I didn't want Mr. Kitty to be lonely so I made another one called Puppy Face to keep him company.


These can be kept in an Art Card book, glued to a small canvas, glued to the front of a card....pretty much anything you can think of to display them.  They're sweet and guaranteed to put a smile on your face!  Thanks so much for stopping by today.  I'll be back next Tuesday with more stenciling ideas.  Hugs~Renee

Tuesday, October 28, 2014

Artistcellar New Release! Kaleidoscope Stencils


Most of us feel a sense of delight when we hear the word Kaleidoscope.  If you're like me it takes you back to childhood with those tacky little paper/plastic kaleidoscopes that you could purchase at the 5 & Dime store.  The newest release from Artistcellar is called Kaleidoscope and is a series designed by mixed media artist Cecilia Swatton.  There are four stencils in the series:  Trillium, Sunflower, Black Orchid and Lily.


                product image       product image    product image     product image


 I am constantly challenged when it comes to keeping track of all my stencils so I make small books with either the stencils in the book (stashed in clever pockets) or at least samples of what they look like.  I chose to do a "sample" book project so I can have a quick visual of these tiny gems for future projects.

Samples from Kaleidoscope Stencils

Here is my process if you'd like to see it.  First I start by cutting up my Art Cards from a large piece of water color paper.  Each one measures 4" by 4".


After I have these cut I decided just to spray Dylusions Spray inks using a different stencil and colors for each card.


These could be highly decorated, just like an ATC, but I decided to keep them simple.  I only inked the edges with coordinating colors and glued them into my prepared, simply folded book.


I had intended to leave the book simply white to mimic a wall in an art gallery but then I couldn't resist adding a few stamped images from Dina Wakley's newest collection.

To finish off my practical sample book I added the names of the stencils just written with a Fude Ball pen on or around the stenciled images.  My folded book has room for many more Art Cards with stencil samples on them.  I'll keep sharing it with you as I go along filling it up.  When it is full then I will do the front and back covers.


Thanks so much for stopping by today.  There are some pretty amazing projects on the Artistcellar blog this week showing additional ways to use these stencils.  Oh!  And there is a blog hop taking place in which you can win your own set of these fun stencils.  I've posted the blog hop list for you here in the event you want to give it a try.  Here is the message from Lisa at Artistcellar:
Now the good part… join us this coming week for a blog hop with some awesome artists! Everyone will be featuring Kaleidoscope and every stop will be giving away a FREE set of stencils to a lucky winner. Read each blog for the details, for this one, just leave a comment – you can tell me what they remind you of, how you would use them, what is your favorite technique you would use with them. I will close comments Nov. 1st here. Each stop will be announced on our FB page the next 7 days.
October 25th – Lisa Cousineau, Artistcellar www.artistcellar.com/wp  <Kickoff!
October 26th – Effy Wild – http://effywild.com/
October 27th – Lisa Chin – http://somethingcleveraboutnothing.blogspot.com/
October 28th – Cheryl Sleboda – http://www.blog.muppin.com
October 29th – Paula Phillips – http://www.journalartista.com/
October 30th – Cindy Powell – http://cynthiapowell.blogspot.com/
October 31st – Cecilia Swatton – http://ceciliaswatton.blogspot.com

Until next week, take care.  Big hugs ~ Renee