Tuesday, November 25, 2014

Stenciled Post Cards

I have an article coming out in the December issue of Take Ten magazine showing post cards that have backgrounds of just stenciling in random colors.  If you have lots of stencils, as I do, this is a great way to use your stencils and create projects that look different every time you make something similar.  This is the post card I'm sharing today and if you read further you can see how I did this and the simplicity of it.


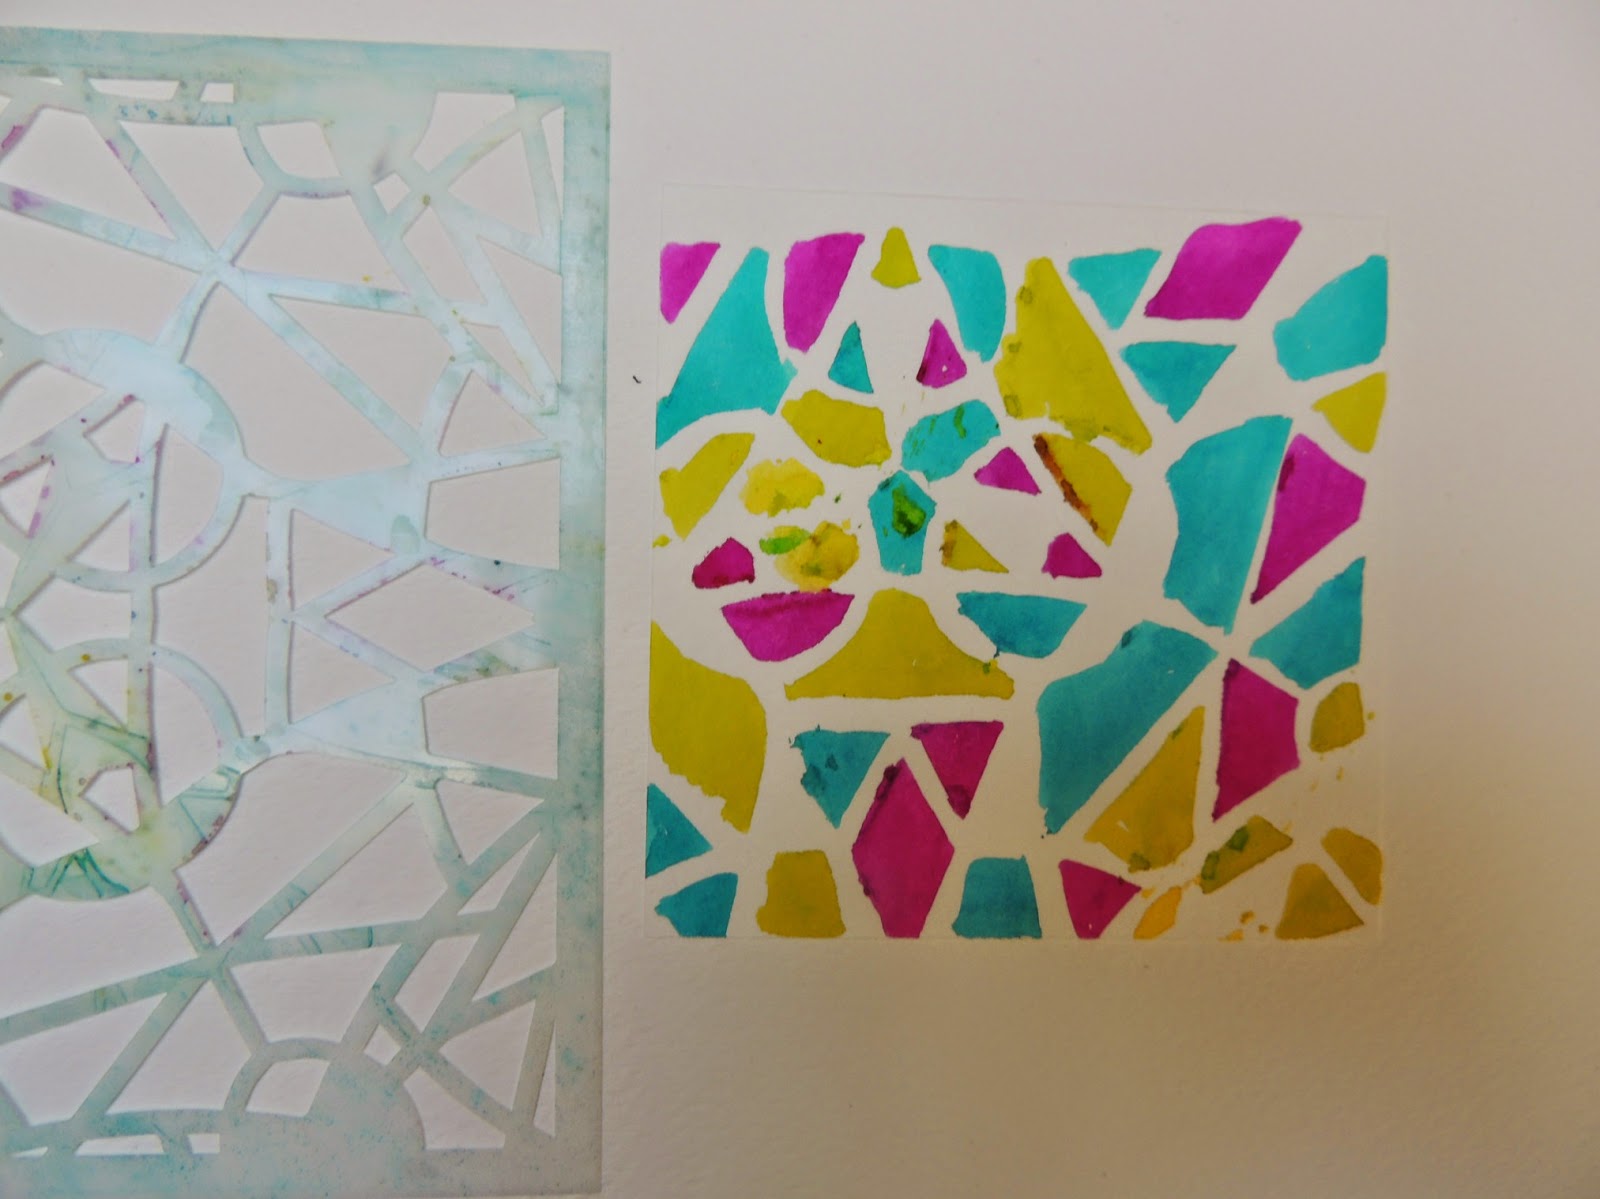
I began the project by laying stencils from the Water Series on top of water color paper and spritzing Dylusions onto the paper.  I used Calypso Teal and Dirty Martini inks and the stencils called Ripples and Sea Foam.  After I sprayed the inks through the stencils I lifted the stencils and applied the inky side to a clean piece of paper so none of the ink went to waste.  This way I have enough stenciled paper to make 4 post cards and scraps to use in other ways later.


After the ink was dry I sprayed Dandelion irRESISTible Texture Spray through Julie Fei-Fan Balzer's Silhouette Script stencil, gently lifting and washing off the stencil when I had finished.  When this was dry I simply cut the paper into pieces that measure 4" by 6", post card size.


I stamped Dina Wakley's Lonely Girl image in black StazOn ink onto the card, when this was dry I glued a head  onto the image .  I added more interest by using my TCW Numerals stencil and a smear of white gesso, the I put up a warning sign and added some bling to the lady.


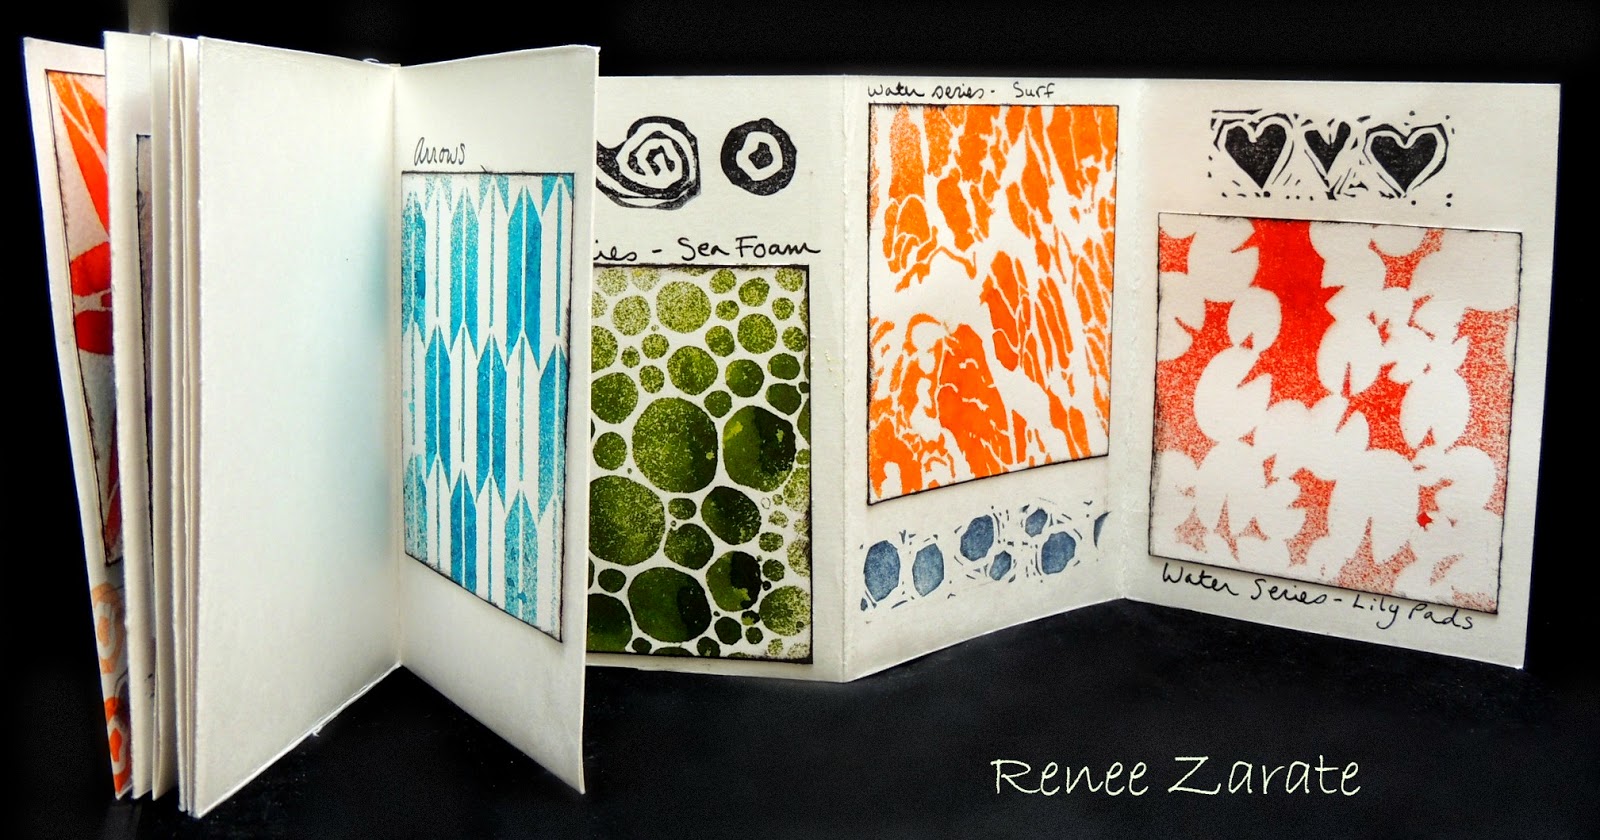
You can do multiples of these panels at one time turning them into cards or tags, if you please.  They are fun and fast!  Take care, thanks for stopping by and I hope to see you here again next Tuesday for more stenciling techniques.  Hugs ~ Renee xx

Wednesday, November 19, 2014

Keeping a visual record of your stencils with a sample book


I made a mini book not long ago to remind me of what types of stencils I had and what they looked like when sprayed with ink.  Every month I receive new stencils from Artistcellar and need to keep track of what I have so I don't have to experiment too much when creating projects.  I just received a series of stencils called the WATER series so I've added their images to the book using the 4" by 4" art cards.  Here is what the book looks like.


Progressively adding more Art Cards with stencil designs


Blank book before adding Art Cards


First I placed the art cards in with the Kaleidoscope stencils designs on them.


Now I have added the Water Series of patterns to the back empty pages.


I was surprised when I sprayed each of these with ink by the patterns that came out!  The first one called Ripples almost looks like a wood grain stencil.  When there are samples like this it can really help the artist to see the possibilities quickly.

Thanks for stopping by today, I hope this has given you some stenciling ideas.  I will keep you posted each time I add art cards to my mini book.  I look forward to seeing you next week on my usual stencil day, Tuesday.  Take care, hugs~Renee xx

Tuesday, November 18, 2014

2015 Artist in Residence Imagine Crafts Design Team Announcement

 I am happy to announce that after two rounds of stiff competition I made the 2015 Artist in Residence Imagine Crafts Design Team!


I will be joining this group of very talented artists for the next year producing projects to showcase the wonderful products made by Tsukineko/Imagine Crafts.  If you have an opportunity to visit any of the following blogs you'll get a peek at the quality of art that will be shared over the course of the next year.

2015 AIRs Project Team
Heike Linnek (Germany)   http://www.stempelkatzen.de
Isha Gupta (Switzerland)   http://hobbyandideas.blogspot.com
Jowilna Nolte (South Africa)   http://www.jowilnanolte.co.za
Maureen Cronin (WA, US)   http://cronincompanystore.com
Penny Ward (FL, US)   http://www.pennywardink.com
Renee Zarate (MA, US)   http://renee-boltonhouse.blogspot.com
Roni Johnson  (US)   http://inkstainswithroni.blogspot.com
Sylvia Blum (Germany)   http://sylviastamps.blogspot.com
Taylor Usry (VA, US)   http://taylorusry.blogspot.com

2015 AIRs Video Team
Baerbel Born (Germany)   http://www.baerbelborn.com
Carisa Zglobicki (CO, US)   http://www.inkyfairydesigns.com
Gini Cagle Williams (NC, US)   http://www.ginicagle.blogspot.com
Savannah O’Gwynn (FL, US)   http://www.savannahland2.blogspot.com
Tina McDonald (NB, Canada)   http://www.tinamcd-mysanity.blogspot.com

Congrats to everyone who made the team!  I recognize a few names from the last time I was an AIRs member but there are many that I'll be getting to know over the course of the year.
Hugs~Renee xx

Friday, November 14, 2014

A Gratitude Mandala for Craft Stamper November Challenge

This is the half way point for the Take It, Make It Challenge.  You still have plenty of time to enter your artistic creations for a chance to win prizes and be published in the Craft Stamper magazine.  This week I made a gratitude mandala using a few winter and spring stamps in a different way than their original purpose.  I have a snowflake stamp around the edges, an acorn stamp, a butterfly stamp and my wonderful feather stamp.  I am still surrounded by the colors of Fall since we are having a very mild season and the leaves haven't completely fallen yet.  Great for Leaf Peeking tourists.  So my color choices have reflected that.


For the mandala circle I can use pre-cut circles out of card stock or in this case I cut my own out of water color paper using a compass.  I drew a circle around each of the areas I wanted to stamp on with a pencil that could be erased later.


After I have achieved a look that I'm happy with using my stamps then I start to color in the images.  On this mandala I used Inktense pencils and Dylusions in a water pen.


When I was finished with the coloring I used a Micron pencil to write on the side of each leaf the different qualities I want to show in my life such as love, joy, peace, gratitude, etc.  Then using the same pen I wrote my feelings about the things I am grateful for each day.


Next I used a Delicata Golden Glitz ink pad and re-stamped the snowflake images and the acorn images again to highlight them.  I have a bottle of Liquid Pearls in the Bisque color that I brought in at the end to highlight the butterflies and add some sparkly interest.


We have so much to be grateful for each day.  Just the sun and the air we breathe are things we can be thankful for every day.

Thanks so much for stopping by today, I always appreciate your visits and the comments left here.  I noticed several new followers and I want to say thank you to them for taking time out of their busy lives to follow along on my artful journey!  Big hugs to all of you, I am grateful for you!  Sincerely ~ Renee

Tuesday, November 11, 2014

Kaleidoscope Stencils Meet Zentangle

These new stencils called the "Kaleidoscope Series" are fast becoming my favorite stencils!  I use stencils often to break up heavily colored areas with some broken white patches.  These white areas give the eye a place to rest especially if there are a lot of details in the mix.  Which brings me to this "ZIA" (Zentangled Inspired Artwork)  cat.  I drew a rough outline of a cat on a piece of canvas board that measures 16" by 12" with a Stabilo pencil.  After doing some Zentangle patterns on him I used the stencils to hide him in the flower garden.


Just to briefly show you the process here are a few photos.  I like to draw but not be too focused when I'm watching TV with my husband or talking on the phone.  I feel that if my hands are busy I'm "working".  So after I drew my cat outline I divided it into sections.  Each section is covered with Zentangle patterns inspired over the years by Rick and Maria who began the Zentangle movement.


After drawing the patterns with a Micron pen I did some shading with my Stabilo pencil.  I painted the background  a Lapis blue and used Copic ink to color the eyes.


I used a few stamps by Dina Wakley along the way and also colored them in with "irRESISTibles".  Now the cat had splashes of color and texture.  When I did as much tangling as I felt like on the cat then I decided to hide him in his own little garden patch of flowers.  The flowers are actually the Kaleidoscope stencils and heavy white gesso.  I added additional interest with another stencil called Blazonry and Interference Blue Golden Acrylic.


Summer may be over but I still have my imaginary garden with my imaginary cat.  I will see you here next Tuesday with more stenciling ideas, until then, take care. ~ Hugs, Renee

Friday, November 7, 2014

New Craft Stamper Challenge for November

The Craft Stamper Challenge for November is a true creative challenge.  The idea is to use stamps and punches, etc. for things other than what their true purpose is to create a winter theme.  I made a cute winter, all occasion card that measures 5" by 7".


I used a piece of  VERTIGO from IMAGINE Crafts to start with.  This gives the background a lot of depth since you can stamp on both sides.  It also adds wonderful texture.  I cut two pieces of white paper to make curvy snow drifts. 


 My stamp for the snow man is just old jar lids dipped in StazOn Jet Black ink stamped onto the punched circles.  The cute face, scarf and hat are from a stamp by Darcie.  The phrase is also from that collection.  I framed the phrase and then added a "wooden" pole to the scene.  I made the snow flakes from white irRESISTibles.  Now that the prep work is done it is just a matter of gluing things down.  In no time at all you have a nice card fit for any winter occasion.  

Pop on over to the Craft Stamper website and check out the inspiration pieces.  As usual, there are prizes to be won!  Have a great week end.  Talk to you soon ~ Hugs ~ Renee


Tuesday, November 4, 2014

Creating Art Card Backgrounds with Kaleidoscope Stencils

Hello there, happy Tuesday!  I am still pretty excited about finding uses for my new Kaleidoscope Stencils by Artistcellar.  Today I am using just one of the set to create backgrounds for my Art Cards.  I chose the stencil called Trillium to make these cute little Art Cards which can be used on cards, canvases or left just as it is as an Art Card.  This is what I made.


This project began as an Art Card.  Art Cards are small canvases, in this case a piece of 140# water color paper, cut to measure 4" by 4".  You can think of it as a slightly larger version of an ATC.  I began by using the Trillium stencil and some water color pens filled with Dylusions Spray Inks.


I placed the stencil on top of the pre-cut paper and painted the different colors of ink through the stencil randomly.  When I had a lot of color on the paper I lifted the stencil off and set it aside.  These are not permanent inks so the stencil can be washed off at any time.


Next I sprayed water onto the inked paper and let it run together.  When I was satisfied with the look I blotted off the excess water with a paper towel.


I sprayed it with water again and blotted the paper with a towel again to get a lighter look.


At this point you can stamp lines or any other pattern on top of the Art Card.  I decided to layer on a stamped image.  This stamp is an old one by Lockhart Stamp Co. with Mr. Kitty on it.


I stamped the image with StazOn Jet Black ink on a separate piece of card stock, trimmed it out and colored it in with Dylusions and Memento ink pens.  When this was dry, I matted it on card board paper, then glued the entire panel to the back ground colored Art Card.


I didn't want Mr. Kitty to be lonely so I made another one called Puppy Face to keep him company.


These can be kept in an Art Card book, glued to a small canvas, glued to the front of a card....pretty much anything you can think of to display them.  They're sweet and guaranteed to put a smile on your face!  Thanks so much for stopping by today.  I'll be back next Tuesday with more stenciling ideas.  Hugs~Renee