Showing posts with label Masterboards. Show all posts

Saturday, August 12, 2017

Combining Imagine supplies with the Amazing Teesha Moore stamp

A little nod to the amazing artist Teesha Moore today and her Zettiology stamps.


Making master boards is always fun and saves time later for fast, interesting projects. These snippets of a master board designed using StazOn Studio Glazes will make a great background paper for a giant refrigerator magnet, a focal point on a card or an art journal front cover. Now is the time to cut up those extra pieces of paper and turn them into something beautiful!

   
Directions:
1.      Cut master board remnants into desired sizes. Use a large background stamp with script and stamp onto the panel. On a separate piece of Bristol paper, stamp an image of a girl with Delicata Black Shimmer ink, sprinkle on clear embossing powder. Melt powder with a heat tool.


2.      When cool, color in the image with Memento Markers and cut out.


3.      Glue the image to the panel, add word stickers, using a black marker to outline each word. Ink edges with Midnight Blue and then Celestial Copper ink. Use gel medium to attach metal wings. Glue to a card, the front cover of an art journal or attach magnets to hang on the fridge.


Supply List
Imagine Supplies
Master board created with StazOn Studio Glazes – Blue Hawaii, Emerald City and Gold
Ink- StazOn Midnight Blue; Delicata Black Shimmer and Celestial Copper
Sponge dauber- large
Memento Markers-Blue Hawaii, Dandelion, Tuxedo Black and Love Letter
Tear it! Tape

Other Supplies
Stamps – Teesha Moore Zettiology and Stampers Anonymous
Metal wings from Idea-ology
Strathmore Bristol paper
Finnabair 3D Matte Gel
Stencils by Artistcellar
Cutting tool
Heat tool

For additional step by step photos check out the Imagine blog.  Thanks for stopping by ~ hugs ~ Renee


Paper towels

Thursday, June 15, 2017

A Tangerine Master Board Becomes an All Occasion Card~ an AIRs Project


Like most crafters I have a stash of cards that can be used at a moment’s notice. When I make master boards I generally make a few cards or ATCs with whatever remains after I complete the main project and into my emergency reserve they go.  Our color challenge for the AIRs design team at Imagine Crafts this month was “Tangerine”, a cheerful color of summer, so I decided to make a master board combining all the different shades of orange that I have on hand. Objects in nature are never a single flat color but generally an eye pleasing combination of multiple shades of one color, including tangerines. This card has a nice masculine feel to it but can also has a feminine side to it with the addition of some paper flowers in the upper corner.

Skill: All levels
Time: 1 hour

Directions

Step one:  Create a monochromatic master board using different shades of orange.  Spray water on a piece of Mixed Media paper, this one measures 11” by 14”.  Lay a stencil or a piece of laser cut paper on top of the wet paper and with a large dauber begin pouncing different colors of orange inks through the design.  Keep blending the colors through the stencil, spraying more water during the process if necessary. The wet paper can be blotted off onto another piece of Mixed Media paper which almost has the same effect as a Gelli Plate design. The stencil can also be wiped off with a baby wipe onto the paper so that none of the ink goes to waste; this creates additional self-designed papers to be used later. Dry the paper with a heat tool.


Step two: Cut a piece of the master board measuring 2 ½” by 3 ½” (standard ATC size). Decorate with a bird die cut that also came from the master board paper, Washi tape and stamp a sentiment, heat emboss with clear embossing powder.


Step three: Mat panel on black, gray and orange cardstock.


Step four: Mat the entire panel onto black cardstock and then mount onto patterned paper.


Step five: Glue the finished panel onto a blank white card. Color a few paper flowers with ink, spritzing water on them then blotting with a paper towel until the desired color is achieved. When the flowers are dry attach them to the upper corner of the card with a strong adhesive.


Here is the list of supplies that I used:


Supply List
Imagine Supplies
StazOn-Jet Black
Memento Luxe-Morocco
Brilliance-Pearlescent Rust
VersaMagic-Mango, Persimmon
Radiant Neon-Electric Orange
Memento Marker-Teal Zeal for eye color
Clear Embossing Powder
Large dauber

Other supplies
Stamps-Sizzix Bird Talk
Die-Sizzix Alterations “Bird Talk”, Big Kick machine
Washi Tape-Idea-ology Sketchbook
11” by 14” Strathmore 140 lb. Mixed Media paper
Cardstock-black, gray, orange, laser cut paper
White blank card measuring 6 ½” by 5”
Heat tool
Baby wipes
Paper towels

Thanks for stopping by today, I always appreciate your visits.  Why not leave a comment so I know you were here?  Have a great day, hugs ~ Renee


Wednesday, March 22, 2017

Just Because Cards ~ AIRs project using On Point Glue

Imagine Crafts released a really fun product on March 1, 2017, it's called On Point Glue.  This product is a clear glue that has a non-clog applicator to give super fine control for use on intricate projects and embellishments, like glitter and tiny flowers.  It is water based, dries clear and remains flexible, the dry time is moderate.  I liked the control it gave me when I was creating these cards.  To see the directions and supplies that I used please pay a visit to the Imagine site where I've given the complete breakdown.


The card on the left hand side is a stamped image by Prima on gessoed paper that has been colored in, foiled and had flowers added, the card on the right is a piece of Jane Davenport's new paper tablet trimmed out and embellished.  I love all of Jane's new products that can be found at Michael's stores here in the USA. The On Point Glue product makes it easy to put the small amounts of glitter in just the right places.

 Thanks so much for stopping by ~ hugs ~ Renee

Wednesday, March 15, 2017

A new AIRs Challenge: Greenery

The color challenge for Imagine's Artists in Residence for this month is:  Greenery.  I thought I like to show an old classic, Mona, green with envy.  Here's a sneak peek, the instructions can be found on Imagine's blog.


You can see the huge effect Prima has had on me recently, lots of flowers and glitter.  I used the new product "On Point Glue" to attach very tiny, fine elements.  More about that on the Imagine site.

Thanks for stopping by ~ hugs ~ Renee

Saturday, March 5, 2016

Creating a Master Board with DecoArt products


I had fun creating a different masterboard similar to last week's using DecoArt products.  There is no end to the color schemes that can be attained by using the Americana line of paints, they blend together very nicely.  I used a Gelli Plate and a piece of water color paper to make the background for this and just a few different colors of paint.  Here is a brief tutorial.


This is a combination of green and blue paints brayered onto my Gelli Plate, then when dry I used a stencil and some Titanium white paint.  To give a punch of color I added yellow paint with more stencils.  At this point the paper can be anything you want it to be.  You can cut it up and use it for cards, ATCs, whatever or in this case I'm using it as a background for a stenciled image.


When all the paint was dry I taped a Prima stencil to the background paper and applied Black Modeling paste with a palette knife.


Lifting the stencil carefully exposes the lovely stenciled image.  Now I can add some additional pops of color.


Some shading was added, catch lights to the eyes and red lips.  Now I have a "portrait" without really knowing how to draw.    I'll be submitting this to the "Bold and Bright"challenge Andy Skinner has going on right now.  Click on Andy's name for the link, you still have time to submit.


Here is the list of supplies used:

DecoArt Products:
Black Modeling Paste
White Gesso
Fluid Acrylics:  Quinacridone Red, Titanium White, Phithalo Turquoise, Antiquing Cream
Americana Paints:  Irish Moss, Yellow Green, Sea Glass, Saffron Yellow, Whispering Turquoise

Stencils:
Andy Skinner's "Have your say"
Prima "Sharon" by Jamie Dougherty
Dyan Reaveley
ArtistCellar

Miscellaneous:  140# watercolor paper, 03 black Micron pen, washi tape, Gelli Plate


Thanks so much for stopping by!  Your comments mean a lot to me, makes me feel like I'm not alone.  Take care ~ Hugs, Renee

Friday, February 19, 2016

A Master Board using DecoArt products


Since my return to South Carolina I've been playing with my DecoArt paints, etc.  We happened to have house guests this past week, our friends Beth and Kevin from Massachusetts.  Myrtle Beach is one of those locations that people seem to pass through often on their way to Florida so we'll be seeing a lot more of our old friends from Mass.  Kevin loves to tinker around the house so he and my husband adjust a lot of things around here when they pop in.  That gave Beth and me time together in the studio.  This was Beth's first foray into the world of mixed media.  Fun times.

To begin we chose to create master boards using DecoArt Americana Paints in Peacock Teal, True Red, Saffron Yellow, Payne's Grey and Cool White.  We applied a thin coating of Gesso to a large piece of 140# watercolor paper, allowed it to dry and then applied our paints.  We squirted the paint onto a Gelli Plate, brayered the paints together and pressed the watercolor paper onto the plate.  When this was dry we used Andy Skinner's stencils with some white gesso and then a touch of the Saffron Yellow paint.  Here's one of our master boards when completed.


The interesting part begins when the master board is cut into different sizes to be used for projects.  Beth began by making her first mixed media card ever.  She looks pretty pleased with her creation.


Beth created Card #2 with a Donna Downey stencil and some black gesso

We made our boards at the same time with the identical colors so we each had one to cut up.  I used mine to make postcards and a portrait using a Prima stencil and some black gesso.


By making a 11" by 15" master board you can create a series of pieces with the same background colors.  It is also a fun project to do with friends who often wonder what you actually do when you're creating art.  All who pass through this studio space are instantly hooked on mixed media when they release their own inner artist.

Thanks so much for stopping by!  I certainly appreciate your visits and welcome comments, please leave one whenever you have time.  Hugs~ Renee

Thursday, October 15, 2015

Making cards using a masterboard

These are the two cards I made using my Seth Apter stenciled master board.


The master board portion is the torn paper at the bottom of the stamped and drawn panel.  The girl's face was inspired by the artist Karen O'Brien in the new magazine called "Faces".  I can't wait for her new book to be released!  She has directions showing how she draws her faces in the magazine, it left me just wanting more.


Here again I'm using just a small portion of the master board to create the stem of the flower.  Using your master board this way adds texture and interest to the project.

I hope you'll make your own original master boards, they're not only fun to make and but fun to cut up and use later!
Thanks for stopping by ~ hugs ~ Renee

P.S.  I have not heard back from the winner of the last week's giveaway "The Groove Tool".  If I don't hear from her by tonight I'll be drawing a new winner and announcing it tomorrow (Friday) morning.  Check back then, I'll give the new winner until Monday to let me know their mailing address so I can ship it out.   Best wishes to you all!

Tuesday, December 23, 2014

Masterboard Tag Using Artistcellar Stencils

I can't believe it is Tuesday already!  Time is flying by.  I am still making tags out of the master boards I made several weeks ago.


 Whenever I make master boards with spray inks and I always blot my stencils off on a separate piece of paper getting a reverse image of the first paper.  Kind of a two-for-one deal.  I used the Water Series stencils, more specifically Ripples and Sea foam to create a master board a few weeks ago.  First I sprayed Dylusions Spray Ink in Calypso Teal and then Dirty Martini, blotting off the excess ink along the way.  I dried the ink as I went along with my heat gun.  When the blue and green ink was dry I sprayed Dandelion irRESISTible Texture Spray over the top using Julie Fei-Fan Balzer's Silhouette Script stencil.    I ended up with two very different papers.

First master board

Second bonus sheet of blotted ink

I cut both sheets into postcards and tags.  To make the second paper even more different I smeared some gesso across the sheet with the TCW Numerals stencil.  This tag is made from the second sheet of paper and includes an alphabet stamp from Dyan Reaveley's stamps.  The main character and the cat are from Stampotique stamps.  This was made for a Poe challenge so the little quote is torn from a piece of book text from "The Black Cat".  It says "I grew, day by day, more moody."  Uh, yeah, he looks a little moody.... I tried to brighten his mood with the color coordinated bow on the top.  I don't think it's working.


I hope this finds you all well!  I'll see you next Tuesday with more stenciling ideas.  Hugs ~ Renee

Tuesday, October 21, 2014

A Group of Stenciled Tea Cup Cards

It's Tuesday!  That means it is Artistcellar stencil play day.  I have been creating a lot of those stenciled tea cups on master board paper.  Some became tiny canvases and the rest are being turned into a series of cards like this one.


The technique on this is just like the ones I did the last couple of Tuesdays, just a reminder....

Begin by creating a master board or several different master boards with stamped images, etc.  These can be used for the back grounds.  If you want to do a series of cards with just one master board all of the cards will "match" in a way having a unified look.  Your master board, your choice.


Next stamp your image onto to the cut panel of master board, in my case it measures 4" by 4".


Now bring in the stencils to decorate the background and the tea cup.  Use as many stencils as you like to create lots of texture on each panel and card.


I used Dylusions inks, Memento pens and a black Micron pen to make designs and color them in.


None of the cards or cups are the same which to me makes them all the more interesting and fun!


This was so much fun, now I have the tea cups out of my system and the cards into my Etsy shop!  Thanks for stopping by today, I hope you'll come back next Tuesday and check out some more techniques to use with your stencils.  Hugs ~ Renee xx

Friday, October 10, 2014

Craft Stamper October Challenge~Half Way Point

It is the midway point of the CS Take It Make It Challenge, have you entered your creation yet?  I will be using the same Master board technique as before but with different colors.  I have included a tutorial technique sharing how I made this postcard.


I made a Master board with Vibrant Turquoise, Lemon Zest and Fresh Lime Dylusions Spray inks sprayed onto a foam ink pad.  The large stamp is an old one from Stampers Anonymous.  When the Master board is dry it can be cut into card backgrounds or post cards.


I cut a piece measuring 4" by 6" since this is the size of a postcard.  Next I stamped a Dina Wakley's  image using Jet Black StazOn ink and heat embossed it with Clear Embossing Powder.  I also stamped some mail type stamps to the mix.


Now to dress up my silhouette.  I added a head from my Marie-Antoinette collection, a little tinsel twine to her waist, some rhinestones to her dress and a phrase from Dylusions.

I hope you will enter in the fun at the Craft Stamper Challenge, you still have plenty of time and lots of inspiration from the Design Team.  Don't forget there are prizes to be won!

What Can You Win?
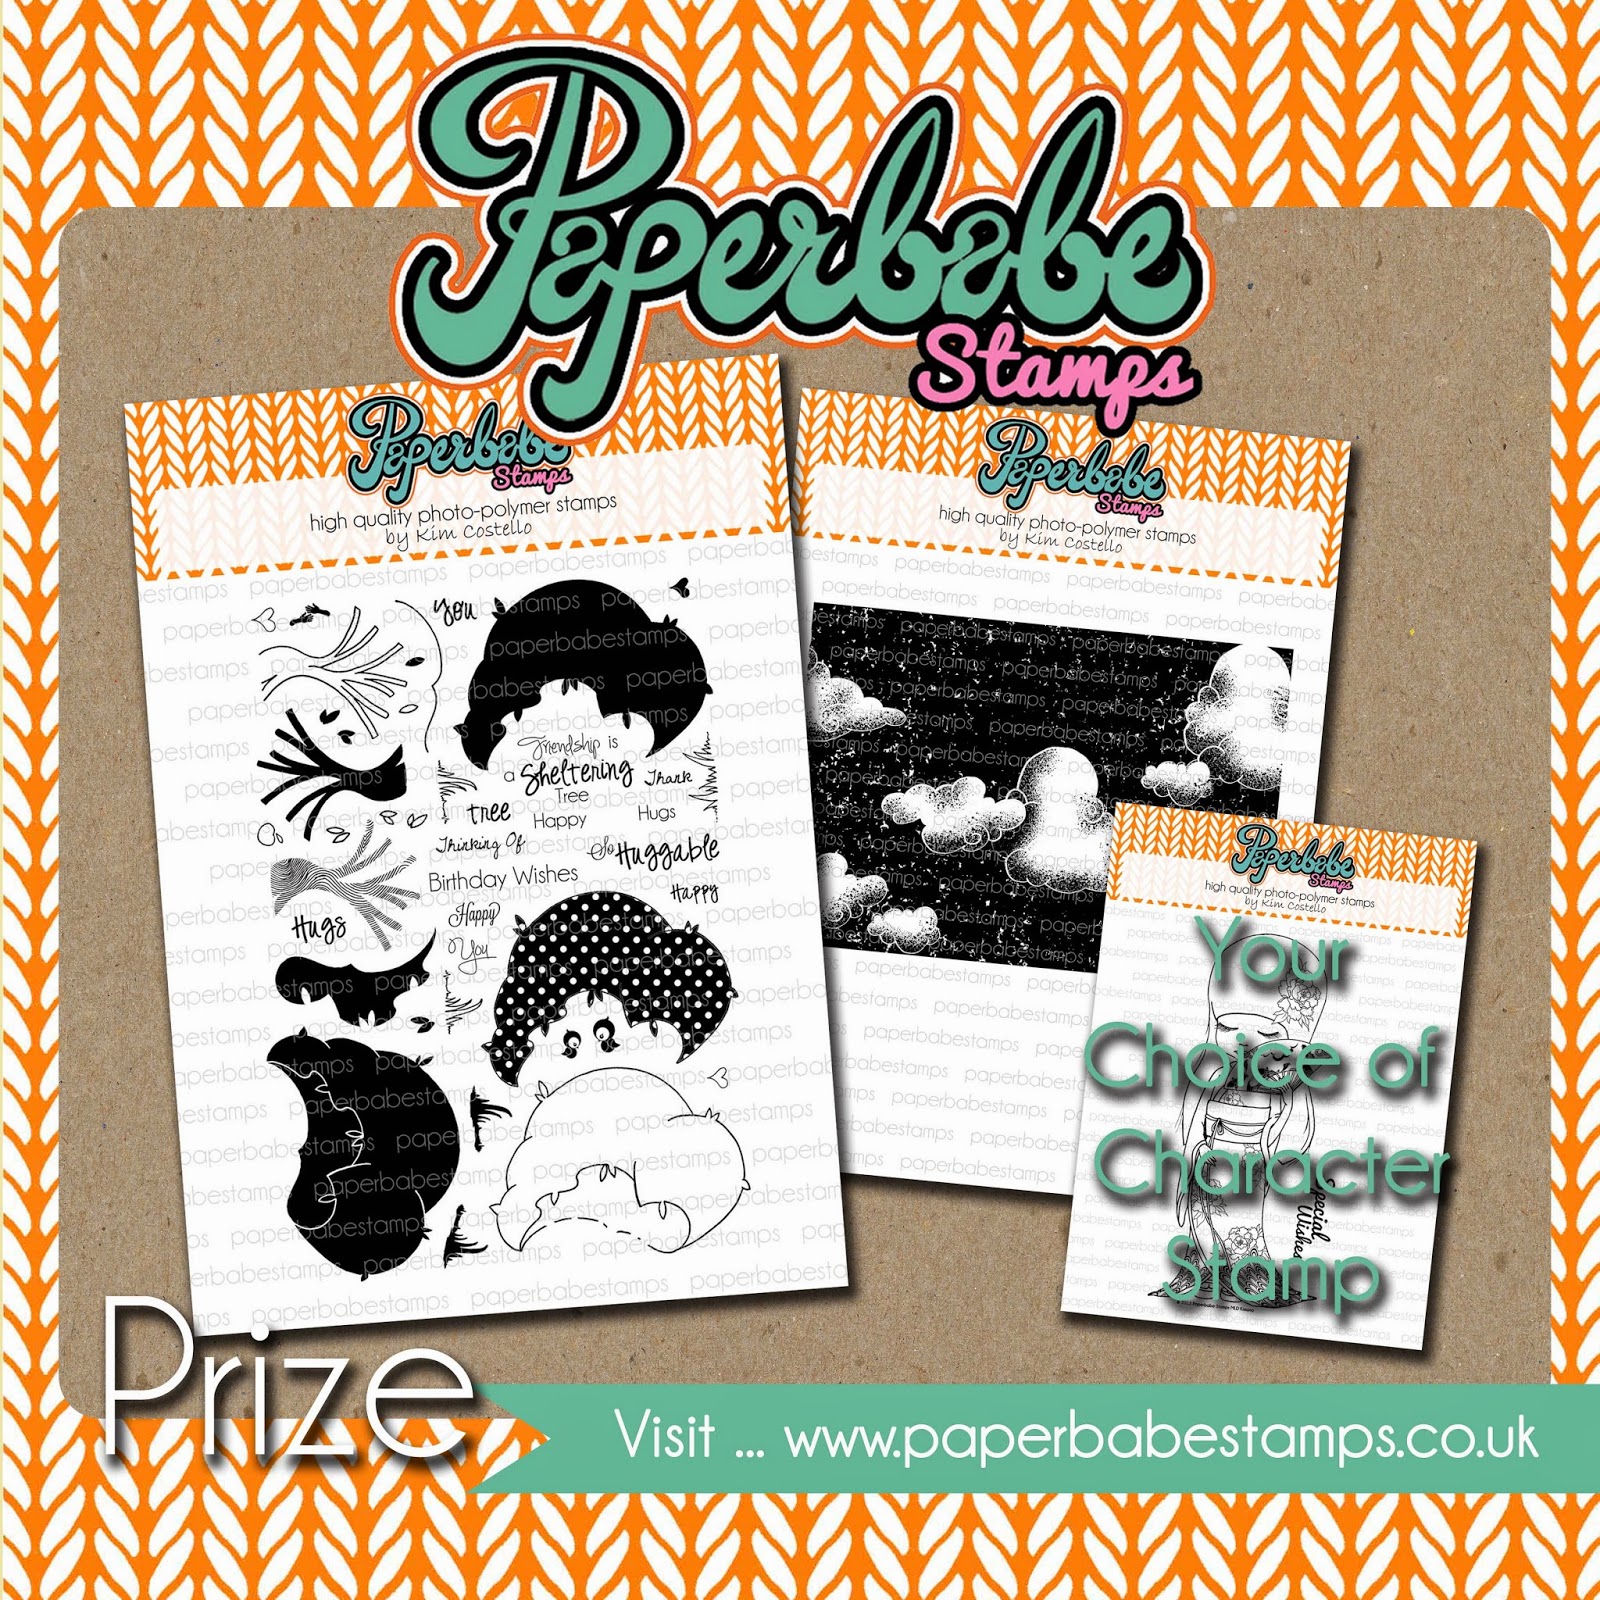
For the October challenge, we are delighted to be sponsored by Paperbabe Stamps!

https://www.etsy.com/uk/shop/PaperbabeStamps

Owned by Craft Stamper DT member Kim Costello, Paperbabe stamps are a wonderfully eclectic mix of designs, from gorgeous backgrounds and quirky figures to doll face stamps, indispensable when it comes to creating our own whimsical faces!The prize for the October challenge?
This....
https://www.etsy.com/uk/shop/PaperbabeStamps
You will receive the tree hug set, the cumulus background set and a character stamp of your choice! How fab! 

PLUS:The Design Team will have a look at all your gorgeous work, and choose their Top Three..... and the overall Winner will get published in Craft Stamper magazine! Yes, the winning entry will appear in the UK's number one stamping magazine!
AND: The Challenge winner will be offered a Guest Designer spot for an upcoming challenge!

Thanks for stopping by.  Take care ~ hugs, Renee

Tuesday, July 29, 2014

Stencils Pull Everything Together

I'm sharing a card I made today using things strictly out of my stash.  I'm trying to do this more and more since I have a box (okay, boxes) full of things that I can recycle.  I use water color paper to do a lot of projects on so I always have the beginnings of a master board.  Here is the card I made using paint, stamps, an ATC and gesso with a stencil called Vine (TCW351).


I cut a piece of the water color paper with paints on it to measure 5" by 7", this will fit on the front of a basic white card stock blank card.  Then I placed the Vine stencil on top and scraped some white gesso through the stencil and carefully lifted it up so it wouldn't smear.


When the gesso was completely dry I used a Dina Wakley script stamp inked up with Jet Black StazOn ink randomly all over the paper.  I pulled an ATC out of the stash, it had some of the same colors in it so that worked out well.  I glued that to the top of one of the vines with a strong adhesive.


Then I glued the entire panel with a strong adhesive, I used Beacon 3-in-1, to adhere the panel to the blank white card.


  I applied black permanent ink all around the edges to distress the card a little and it is done.


Now I feel good about this.  I not only used my work "master board" paper but also my stencils and a discarded ATC.  When you are doing your art don't hesitate to just make what you love, enjoy the process. If it doesn't work out you can set it aside and find a use for it later.  Stencils and gesso have a way of tying things together.

Thanks for stopping by today, I'll do another short stencil tutorial next Tuesday.  I hope to see you then.
Hugs~ Renee