Tuesday, September 30, 2014

Sacred Heart Series Canvases ~ Immaculate

This is my fourth canvas using the Artistcellar Sacred Heart Series of stencils.  This final stencil is called "Immaculate".  If you'd like to see how this small canvas was made I have provided a tutorial. So, take a few minutes, sit down, grab a cuppa and take a look at the process.

Burlap canvas measuring 6" by 6" called "Immaculate"


To begin I have cut a piece of 6" by 6" watercolor paper, applied a thin layer of gesso to it and allowed it to dry.  When the paper is dry I applied Distress Inks in Scattered Straw, Vintage Photo and Broken China to the panel and blended the colors with a baby wipe.


I laid the stencil called "Immaculate" on top of the panel and started making an outline of the parts of the stencil with a Stabilo All pencil, this will provide shading later.


Now that my pencil marks are in place I began applying the Broken China DI with an applicator through the stencil.  This activates the Stabilo pencil and changes the color to a gray blue shade.


I sewed a little here and there around the edges of the canvas, leaving the threads long for now, I'll trim them later.


I added some stamping with Memento London Fog ink and StazOn Jet Black ink.  I applied water to the edges of the panel to break them down and age them.  Then I used a distressing tool to tear the edges and then inked them with the StazOn Black ink.


I wanted to have a small punch of red on this canvas, like the others.  With that in mind I drizzled Lady Bug red "irRESISTibles" on the tops of the roses and let it dry.  I glued the gears and cogs on with a strong adhesive then added Distress Stickles into the open areas of the cogs.


The finished canvas is now ready to be adhered to the burlap canvas.  I trimmed the threads to the desired length and it is done.  Now I have a completed set of these Steampunked Hearts!


Thanks for joining me today, I have had a lot of fun working on this series with these stencils.  Next week I will share some more stenciling ideas with you.  I hope to see you next Tuesday, take care!  Hugs~ Renee xx


Saturday, September 27, 2014

I have an article published in Art Journaling Magazine!

I am excited to share with you that I was published in Art Journaling magazine for the very first time.


  I received my complimentary copy in the mail and couldn't be happier.  I shared with them some of my 100 Faces in 100 Days a few months back and the editor asked me to write an article about my artistic/journaling journey.  It was a lot of fun to write about it and even more fun to see it in print.  Here are the opening pages of the article.


In the Gallery section of the magazine they were kind enough to share a few more of my art journal pages.


So, if you are any where near a Barnes and Noble bookstore and have a few moments I'd be delighted if you stopped to take a look.  There are so many of my personal favorite artists in this particular magazine, I'm just thrilled to be mentioned in the same issue with them!  My thanks as always to Stampington, I wouldn't be doing any of this if it hadn't been for them.  Hugs ~ Renee

Tuesday, September 23, 2014

Danse Macabre~ New Release from Artistcellar

The Danse Macabre stencils are the amazing creation of Beatrice Coron, an internationally famous papercutting artist.  She tells her own stories through papercutting.  Here is a link to a fascinating speech she delivered not long ago at TED about Creativity.  The names of the stencils she created for Artistcellar are Painter, Dancers, Housework and Online.  I thought it would fun to showcase all of them on a tissue box and keep the colors to a minimum.  I have included a short tutorial showing how to do this.

Online
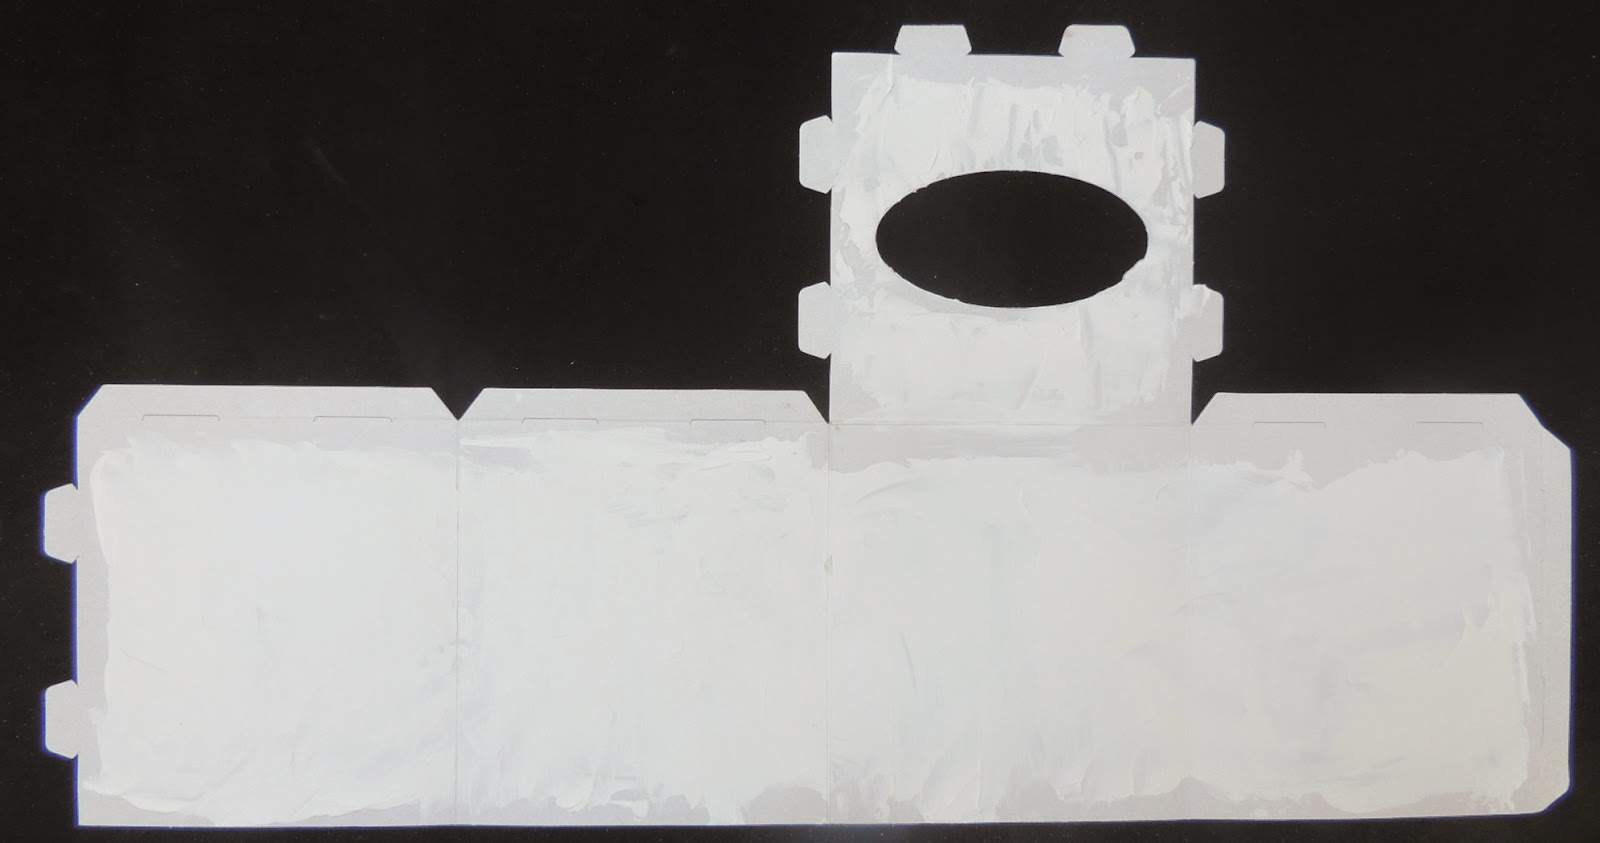
I started with a blank tissue box that I purchased several years ago from Oriental Trader.  To make it sturdier I applied a heavy, rough coat of gesso to the exterior and allowed it to dry.


I wanted the finished look to be like old stone with moldy shading like you see on gravestones that are a couple of hundred years old.  To achieve this color I used Memento Luxe ink in the Espresso Truffle color and applied it with an applicator.


I did this with each of the stencils and then folded the box together.  I brought in a splash of color by using tissue tape on some of the seams.  I did all of the sides of the box this way and here is how they came out.

The Dancers

The Painter

Housework

These are fun stencils.  I know someone around here will catch a cold this year and need a laugh when they feel "half dead".  Thanks for stopping in today, I'll be back next Tuesday with more stenciling ideas.  Until then, take care.  Hugs~ Renee

There is a blog hop going on right now if you are interested in seeing the work of some great artists and maybe winning a set of these stencils for your own collection!

September 20th – Lisa Cousineau, Artistcellar www.artistcellar.com/wp
September 21st – Jill K Berry – jillberrydesign.com/blog
September 22nd – Janet Ghio – www.janetsartplay.blogspot.com
September 23rd – Cheryl Sleboda – http://blog.muppin.com
September 24th – Sarah Trumpp – www.wonderstrumpet.blogspot.com
September 25th – Diana Trout – www.dianatrout.typepad.com

Tuesday, September 16, 2014

Sacred Hearts Stencil Canvas Series~Spirit

I am continuing to work on my heart stenciled canvases.  This one is called "Spirit".  This collection of heart stencils is made by Artistcellar and has a Steampunk flavor to it so it lends itself well to this project.  This is the finished canvas, there is a tutorial following if you would like to see how it was made.


To begin I have cut a piece of 6" by 6" watercolor paper, applied a thin layer of gesso to it and allowed it to dry.  When the paper is dry I applied Distress Inks in Scattered Straw, Vintage Photo and Broken China to the panel and blended the colors with a baby wipe.


I laid the stencil called "Spirit" on top of the panel and started making an outline of the parts of the stencil with a Stabilo All pencil, this will provide shading later.


Now that my pencil marks are in place I began applying the Broken China DI with an applicator through the stencil.  This activates the Stabilo pencil and changes the color to a gray blue shade.


I sewed a little here and there around the edges of the canvas, leaving the threads long for now, I'll trim them later.

I added some stamping with Memento London Fog ink and StazOn Jet Black ink.  I applied water to the edges of the panel to break them down and age them.  Then I used a distressing tool to tear the edges and then inked them with the StazOn Black ink.


I wanted to have a small punch of red on this canvas, like the others.  With that in mind I drizzled Lady Bug red "irRESISTibles" across the top and let it dry.  I glued the gears and cogs on with a strong adhesive then added Distress Stickles into the open areas of the cogs.  A tiny rhinestone was glued onto the dove.


The finished canvas is now ready to be adhered to the burlap canvas.  I trimmed the threads to the desired length and it is done.  Three canvases down and one to go!


Thanks for joining me today, I have had a lot of fun working on this series.   I hope to see you next Tuesday when I will share more stenciling ideas with Artistcellar stencils. .  Talk to you soon ~ Renee xx

Friday, September 12, 2014

Craft Stamper Challenge::Tissue Paper Stamping halfway point

We're at the half way point of the CS Challenge of stamping on tissue paper.  I thought I would do some work in my art journal using the stamped tissue paper.  For the challenge I did a two page spread in my art journal with a tissue paper skirt on one of my ladies.


I began by applying a thin layer of gesso through a stencil and allowing it to dry.  When it was completely dry I painted some DWM acrylic paint in Turquoise and Lime onto the pages.  I wiped off some of the paint with a baby wipe exposing the white gesso in spots.


Next I tore off a piece of tissue paper from an old sewing pattern, this would be the skirt for one of my girls.
I stamped on the paper with Jet Black StazOn ink and then folded the paper into pleats.


Using Creative Gel Medium I shaped the folded paper and attached it to the page.  I added some map wings to the area surrounding her stamped torso.


I added more color with DWM Ruby and white paint applied through a Julie Fei-Fan Balzer called Blazonry.  First red and then white were applied.

I outlined the stenciled painted areas when dry with a Fude Ball permanent marker very loosely.  I started stamping phrases from the new Dina Wakley stamp collection.  The heads are from Dyan Reaveley, stamped on tags and then colored with markers and trimmed out.


I wanted to pull both pages together so I painted black chalkboard paint across the middle of both pages.  When this is dry it is easy to write on with a white Gelly Roll pen.  I wrote the lyrics of the song "Do You Believe in Magic".  The Bahama Blue drippings are from Imagine Crafts "irRESISTible" texture spray, applied with a paint brush and allowed to run down the page.

I am not good at drawing arms and hands so my lady on the right received two sets of die cut map paper wings instead of arms.  Her dress was a left over piece of stenciled paper retrieved from my recycle box.


You have plenty of time to create a stamped tissue paper project and join in the fun at the Take It Make It Challenge.  There are plenty of inspirational samples on the site, go take a look when you have time!  Thanks for stopping by today, I do appreciate your visit.  Hugs ~ Renee xx


Tuesday, September 9, 2014

Artistcellar Sacred Heart Series Stencils on canvas

Today I am using the Sacred Heart Series of Artistcellar stencils again.  I have decided to do a series of canvases on water color paper and then attach each of  the panels onto a small 6" by 6" burlap canvas.  There are four stencils in the Sacred Hearts Series, the one I'm using today is called "Sacred".  This is the finished canvas, if you would like to see how I made it I've included a tutorial.  It might be a good time for you to grab an appropriate beverage and get comfy there are quite a few photos in this process.


To begin with I cut a piece of 6" by 6" water color paper from a piece that had been stamped off on previously and applied a light coat of gesso to the paper.  Next I applied Distress Inks in Scattered Straw and Tumbled Glass colors and wiped them with a baby wipe until the colors were blended.  When the ink was dry I laid the stencil on top of the paper and outlined the stencil with my Stabilo All pencil.  This creates shading when it reacts with the Distress Inks.  Using an applicator I applied Tumbled Glass ink to emphasize the heart and the rays.


I decided to use Delicata gold for the crown.  The stamp shown here is from IndigoBlu, it is a crackle design that I rolled in Vintage Photo Distress Ink and applied randomly to the canvas.  When all the inks were dry I sewed the edges on my sewing machine using a straight stitch and a zig zag stitch.  The edges of the panel were inked with Vintage Photo Distress Ink.


I wanted the edges of the panel to be more pliable so I used my water brush on the back of the canvas to soften the edges of the paper.  To distress them further I used Tim Holtz's distress tool which breaks the paper down even further.  I inked the ragged edges with Water Can Archival Ink.


Now I wanted a little color so I brought in my "irRESISTible" Pico marker in Morocco which I applied to the crown.  I used my Pico marker in Silver to outline the heart and give it a melted metal look.  The three heart shaped rhinestones were glued on with 3-in-1 adhesive as were the Sprocket Gears.  I felt like the gears gave it almost a Steampunk flavor.


At this point I glued the panel to the burlap canvas but I felt it needed a few more embellishments.


I added a few more gears, stamped a few more times and it was finished!


Thanks so much for stopping by today, I hope to see you again next Tuesday for stenciling ideas.  Take care~  Hugs, Renee xx

Friday, September 5, 2014

CS Challenge for September::Stamping on Tissue Paper

This month's challenge from the Crafter Stamper magazine is Stamping on Tissue paper.  My project involves both tracing an image on the tissue paper and then stamping on it later.  I wanted to try the technique in my pursuit of drawing faces so I traced a photograph that I have of my daughter.  The portrait became an art journal for her.  If you'd like to see how this evolved you can read the tutorial below.


This did start out as an experiment.  I wanted to do a portrait based on a traced image from a photo.  Here is the photo I used.


I placed a piece of tissue paper on top of the photo and lightly traced it with an Aquaellable Stabilo pencil.


After the image was traced I used Pan Pastels to color it in.  Keep in mind these will be blended later.


After the colors were blended to my satisfaction I cut out the image and glued it onto a piece of what I call "junk paper".  I do most of my work on a sheet of 140# water color paper.  These papers sit in a pile when they are covered with paint, ink and stamping.  They don't look like much until I unify the colors with a stencil and some white gesso.  In this case I did additional stamping of some Dina Wakley grungy hearts and then glued the image onto the paper with Mod Podge.  I purposely scrunched the tissue paper so it wouldn't look perfectly smooth.


I sewed some additional texture onto the page with my sewing machine and let some of the threads dangle.  I also made some lines with a credit card and some black gesso.


When this was dry I folded it in half and simply sewed it together with some pages in the middle for my daughter, Holland, to draw on.  There are 6 pages inside with gesso on them, primed and ready to go.


Now I added the stamping on top of the tissue paper.

The outside of the art journal


More stamping on top of the tissue paper with StazOn Jet Black permanent ink and stamps from Dina Wakley and Stampers Anonymous.  Now the journal is finished, it just needs some artwork inside.


The back of the journal


I hope you will rise to the challenge this month at the Craft Stamper website.  It is easy to upload your projects and there are some really nice prizes to win!  I'll post another stamped tissue paper project next week in case you can stop by.  As always, thanks for the visit.  Please leave a comment if you have time I'd love to hear from you.  Hugs~ Renee xx